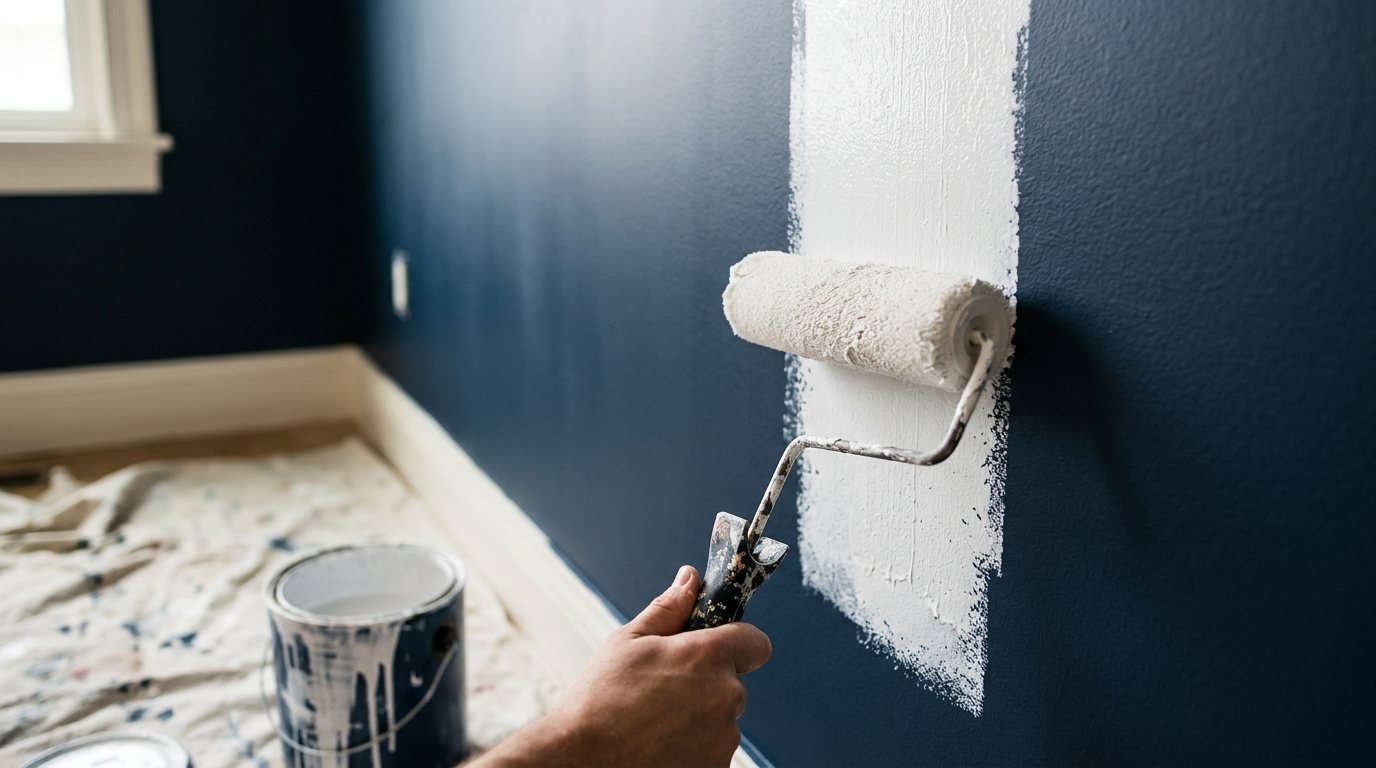
That navy accent wall or deep red dining room seemed like a great idea years ago. Now you want something light and calm, but the first coat of white goes on streaky, the old color glows through, and the edges along the ceiling still look dark after two coats.
This guide explains why dark colors are so hard to cover and how to do it in the fewest coats. You will learn when a tinted primer is worth it, what “paint and primer in one” really means, how to cut in so the edges do not ghost through, and how to calculate the primer, paint, cost and time the job will take.
Quick answer: Clean and repair the wall, then apply one or two coats of a high-hide primer: white or tinted toward your new color if it is light, or gray-tinted if the new color is a mid-tone or deep shade. Follow with two coats of quality paint, cutting in and rolling one wall at a time while keeping a wet edge. Without primer, light over dark often takes three or four coats.
Why dark colors are so hard to cover
Deep colors like navy, charcoal, forest green and red are packed with strong pigment, while whites and pastels rely on a limited amount of white pigment to hide what is underneath. Each coat of light paint lets a little of the old color show through, so it takes several layers to build enough film to block it. Bright reds and deep blues are the worst offenders.
The problem is usually most visible along the edges. A brush lays down a thinner coat than a roller, so the cut-in band around ceilings, corners and trim is where the old color ghosts through first.
Do you need primer? The truth about paint and primer in one
What “paint and primer in one” means
These products are not a separate primer mixed into paint. They are thicker, higher-solids paints with extra binder, which helps them seal and grip a sound, previously painted surface. That is useful, but extra thickness does not hide a dark color the way a dedicated primer does.
What testing and manufacturers say
Consumer Reports says most paints it tests are self-priming and that a separate primer often is not needed when you repaint, particularly when going to a similar or darker color. At least one major manufacturer still recommends two coats of its paint-and-primer product for full color and suggests special primers for stained or slick surfaces. Light over dark is the hard case, and that is where a separate primer earns its place.
When primer pays off
Primer costs less per gallon than most paint and hides better on a dark base, so one or two primer coats usually save you a coat or two of finish paint. Use it whenever the contrast is big, the old color is red or a deep blue, the wall is glossy, or you have patches and stains.
| Your situation | Primer? | Typical coats |
|---|---|---|
| Similar color, sound wall | Not needed with self-priming paint | 2 coats of paint |
| Light over medium (tan, sage, gray) | Optional, helps with uneven walls | 2 to 3 coats of paint, or 1 primer and 2 paint |
| Light over dark (navy, charcoal, black) | Yes, white or tinted high-hide primer | 1 to 2 primer and 2 paint |
| White over deep red or bright color | Yes, often 2 coats of primer | 2 primer and 2 paint |
| Darker or deep new color | Gray-tinted primer if changing hue | 1 primer and 2 paint |
| Stains, gloss or many patches | Yes, stain-blocking or bonding primer | 1 primer and 2 paint |
How to choose a tinted primer
White primer for whites and pale colors
If your new color is white, off-white or a very pale tint, a white high-hide primer is the simplest choice. It gives the topcoat a clean, bright base so the final color reads true.
Primer tinted toward the new color
For light colors with some depth, like a soft greige or a pale blue, ask the paint counter to tint the primer toward your topcoat color. The closer the primer is to the finish, the less the topcoat has to do. Primers accept only a limited amount of colorant, so let the store decide how far to tint it.
Gray primer for deep and saturated colors
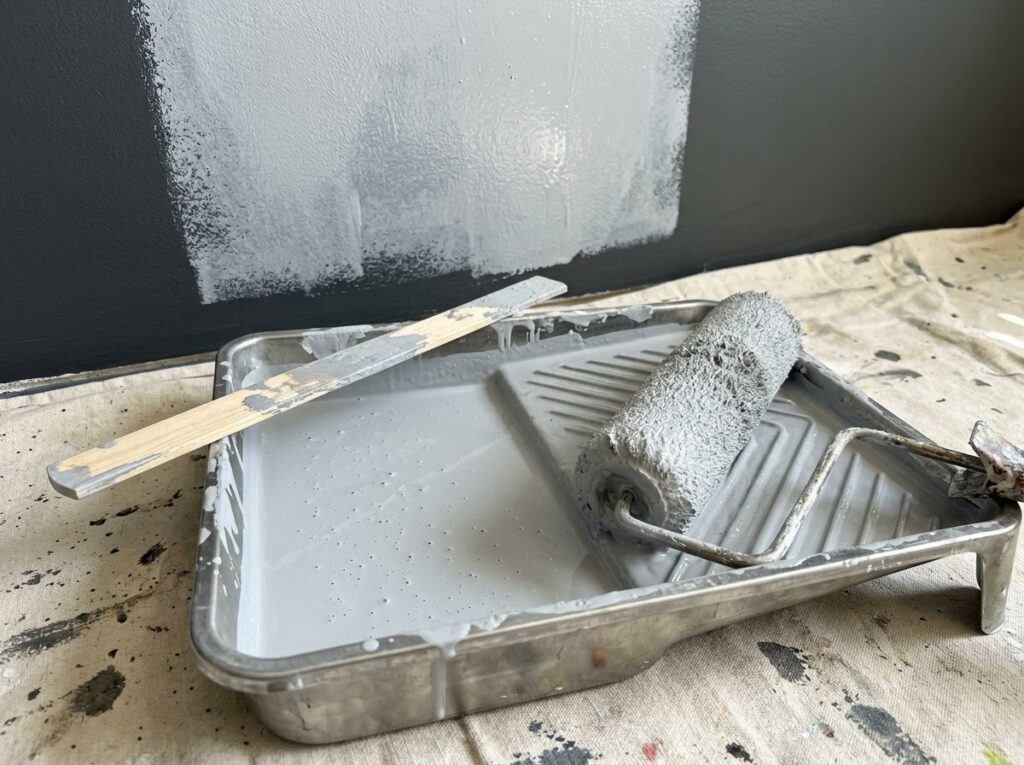
Gray-tinted primer helps when your new color is a mid-tone or deep shade, or a saturated color like red or yellow that hides poorly on its own. The store can match the gray level to your new color. Gray hides a dark base far better than adding another coat of thicker paint.
Tools and materials
- High-hide primer (white, tinted or gray as above)
- Quality interior paint in your new color
- 2 to 2 1/2 inch angled brush for cutting in
- 9 inch roller frame with 3/8 inch nap cover for smooth walls (thicker nap for textured walls)
- Roller tray and liners, or a 5 gallon bucket with a grid
- Painter’s tape, drop cloths and a step ladder
- Spackle, putty knife and medium-grit sanding sponge
- Sponge, mild detergent and a bucket
Step by step: how to paint over a dark color
1. Prep the walls
Dark walls hide scuffs and grease that will show through a light color, so wash them with a mild detergent and let them dry. Fill holes and dents (our guide on how to patch a hole in drywall covers larger damage), sand patches smooth, and scuff any satin or semi-gloss sheen so primer grips. Tape trim and protect floors.
Safety note: In homes built before 1978, older paint layers may contain lead. Test before you sand, and never dry-sand or scrape paint that could contain lead without following lead-safe work practices.
2. Prime
- Stir the primer thoroughly, since high-hide primers settle.
- Cut in along ceilings, corners and trim with a brush.
- Roll the wall in a W pattern, then fill it in, working in sections and keeping a wet edge.
- Let it dry fully. If the old color still shows clearly, especially red, apply a second coat of primer.
3. Cut in the first topcoat
Cut in one wall at a time so the brushed band is still wet when you roll next to it. Load the brush well and lay the paint on a little more generously along the edges than you would on a light-over-light job, because thin cut-in bands are where dark colors ghost through.
4. Roll the first coat
Roll from the cut-in edge outward, overlapping each pass and rolling back into wet paint. Do not stretch paint thin to make a gallon go further. Most paints are rated for about 350 to 400 square feet per gallon, and spreading it further leaves the coat too thin to hide.
5. Add the second coat, and a third if needed
Wait for the recoat time on the label, then repeat the cut-in and roll. Judge coverage only once the paint is dry, in daylight, looking along the wall at an angle. If you still see shadows or a darker band at the edges, add a third coat to those areas or the whole wall.
Pro tip: If you need more than one gallon of the topcoat, pour all the gallons into a 5 gallon bucket and mix them together before you start. This evens out tiny color differences between cans, which can show up as patches on a light wall.
Coverage math: how much primer and paint you need
To estimate, add up the wall lengths, multiply by the ceiling height, then subtract about 20 square feet for each door and 15 for each window. Multiply that area by the number of coats and divide by 350 to 400 square feet per gallon. Here is a 12 by 14 foot room with 8 foot ceilings, one door and two windows (about 365 square feet of wall):
| Product | Coats | Area to cover | Gallons to buy |
|---|---|---|---|
| Primer | 1 | About 365 sq ft | 1 |
| Primer (deep red or navy) | 2 | About 730 sq ft | 2 |
| Paint | 2 | About 730 sq ft | 2 |
| Paint, no primer | 3 to 4 | About 1,095 to 1,460 sq ft | 3 to 4 |
Our free paint calculator runs these numbers for your room, and our guide on how much paint you need explains how texture and color affect coverage.
Cost and time
According to Angi’s room painting cost guide, primer typically costs $10 to $20 per gallon, and Angi’s ceiling cost guide puts paint at about $20 to $60 per gallon. For the example room, one or two gallons of primer and two gallons of paint usually come to roughly $50 to $160, plus brushes, rollers and tape. Skipping primer often means buying an extra gallon or two of finish paint instead.
Time is the bigger cost. Plan on three coats in total (one primer, two paint) and up to four or five for deep reds, with drying time between each. For one average bedroom, a DIYer should usually allow a full weekend, including prep and cleanup, rather than a single afternoon.
When to call a pro
Hire a painter if any of these apply:
- The dark paint is peeling, bubbling or flaking, which points to adhesion or moisture problems that need fixing first
- Your home was built before 1978 and the paint needs sanding or scraping
- Stairwells, two-story walls or vaulted ceilings that need scaffolding
- Several rooms or an open floor plan where a full weekend per room is not realistic
Angi puts the average cost to paint a room at around $1,100, with most homeowners paying $400 to $1,600, or about $2 to $6 per square foot. It notes that light over dark may need three or four coats, and each additional coat typically adds $50 to $70 per 300 to 400 square feet. Painters usually charge about $20 to $50 per hour.
Frequently asked questions
How many coats does it take to cover a dark color?
With a good primer, plan on one or two coats of primer and two coats of paint. Without primer, light over dark often takes three or four coats, and deep reds can take more.
Can I paint over a dark color without primer?
Yes, but expect extra coats of finish paint, which usually costs more than primer. A self-priming paint works well for similar colors, but it does not hide a dark base as efficiently as a high-hide or tinted primer.
Is gray primer better than white for covering dark colors?
It depends on the new color. White or a primer tinted toward the new color is best under whites and pale colors, while gray primer works best under mid-tones, deep colors and saturated reds or yellows.
Does paint and primer in one cover dark colors?
It helps, but it is still a thick paint, not a true primer. For a big jump from dark to light, a separate high-hide primer followed by two coats of paint usually gives a more even result in fewer total coats.
Why can I still see the old color around the edges?
Brushes leave a thinner coat than rollers, so the cut-in band hides less. Apply the cut-in coat more generously, roll as close to the edges as you can, and touch up the edges again before the final coat.
The bottom line
Covering a dark color is mostly about building enough hiding power, and primer is the cheapest way to do it. Use a high-hide primer tinted to suit your new color, cut in generously, keep a wet edge, and plan for two finish coats with full drying time between them. If you are still choosing that new shade, our guide on how to choose paint colors can help you get it right the first time.