You want a ceiling fan where an old light fixture hangs now. Then you take the light down and find a small box, a few wires and no idea whether that ceiling can safely hold a spinning motor that weighs far more than the light did.
This guide covers the whole job: why a fan needs a fan-rated box, how to brace it, how to wire a fan and light on one or two switches, how high the blades should be, how to stop a wobble and when a licensed electrician is the smarter call.
Quick answer: Turn off the breaker and confirm the wires are dead with a voltage tester. Make sure the ceiling box is marked for fan support and fastened to a joist or fan brace bar, hang the bracket, then connect ground to ground, white to white, and the switched hot to the fan’s black (motor) and blue (light) leads. Keep the blades at least 7 feet above the floor, and call an electrician if you need new wiring, a new switch or can’t get solid support.
Why a light fixture box is not enough
A ceiling light is a static load that hangs still and usually weighs a few pounds. A ceiling fan is heavier, and once it spins it adds torque and vibration that work on every screw holding it up. Many light boxes are plastic or shallow metal boxes held by drywall clips or nails, and they can loosen or crack under that constant motion.
The National Electrical Code requires an outlet box that is the sole support for a ceiling fan to be listed and marked as suitable for fan support, and typical fan-rated boxes are rated for fans up to 70 pounds. Heavier fans need a box marked for the higher weight. This overview of ceiling fan box ratings explains the markings, and your fan’s manual lists its own support requirements.
How to tell what you have
- Fan-rated: round or octagonal, usually metal, labeled “acceptable for fan support” with a maximum weight, fastened to a joist or a brace spanning two joists, and solid when you push on it.
- Not fan-rated: no fan marking, held only by drywall ears or a thin bar, cracked, or it moves when pushed.
- Unknown: if you can’t find a marking, treat it as a light box and replace it.
Bracing options for a fan box
Box fastened directly to a joist
If the opening sits right beside a joist, a fan-rated box screwed into the side of that joist with the supplied screws is the simplest solid mount. Confirm where the joist runs before you cut; our guide on how to find a stud covers the same techniques for ceilings.
Expandable fan brace bar (no attic needed)
When the opening is between joists in a finished ceiling, a retrofit fan brace is the usual fix. You slide the bar through the hole, rotate it so its ends extend and bite into the joists on each side, then attach the fan box to the bar with its saddle bracket. The fan canopy hides any slight enlargement of the hole.
Wood blocking from the attic
If you can reach the ceiling from an attic, a 2×4 or 2×6 block screwed between two joists makes a very strong base for the box. Step only on joists or a board laid across them, never on the drywall.
Tools and materials
- Non-contact voltage tester, plus a multimeter to double-check
- Sturdy step ladder tall enough that you don’t stand on the top steps
- Screwdrivers, nut driver and adjustable wrench
- Wire strippers and wire connectors sized for your wires
- Drill/driver and drywall saw if you are changing the box
- Fan-rated box and fan brace bar if the existing box is not rated
- The fan kit, correct downrod and balancing kit
- A helper to steady the motor while you wire it
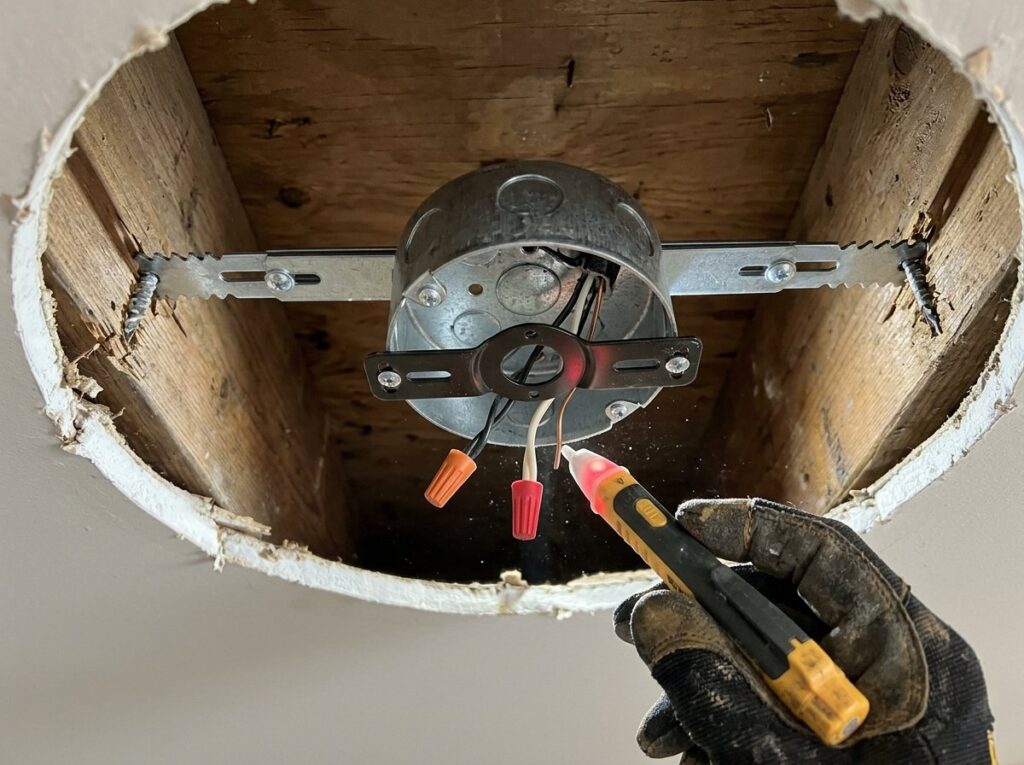
Safety note: Turning off the wall switch is not enough. Switch off the circuit breaker, then test every wire in the box with a voltage tester, checking the tester on a known live outlet before and after. Ceiling boxes sometimes hold wires from more than one circuit, so test them all, and work from a stable ladder (see our ladder safety tips). Never let the fan motor hang by its wires.
Wiring basics: one switch or two
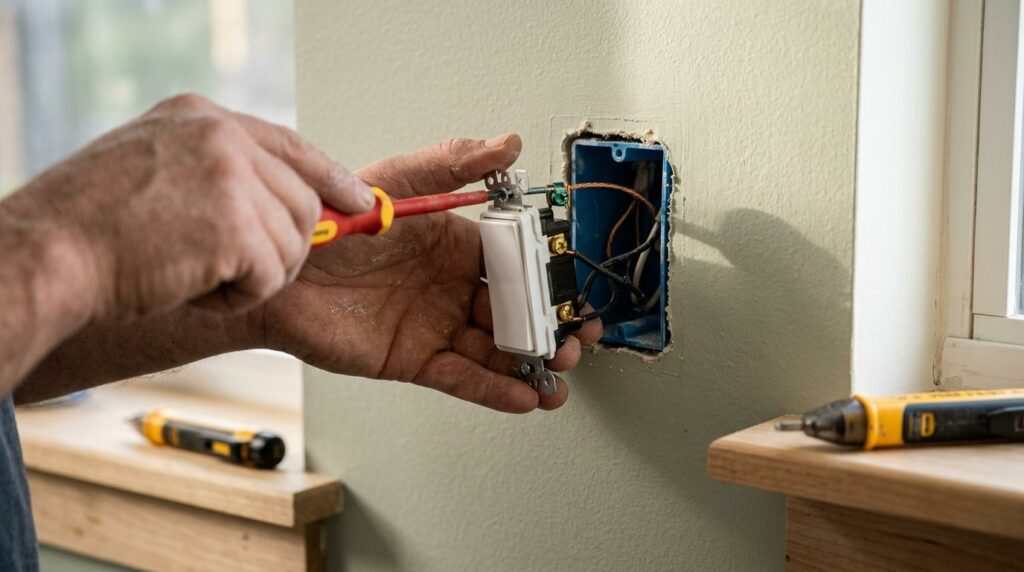
Most fans with a light kit have four leads: black for the motor, blue for the light kit, white for neutral and green or bare copper for ground. How you connect them depends on what’s in the ceiling box, so photograph the old connections before you undo anything.
| What you find in the box | What it usually means | Typical connection |
|---|---|---|
| Black, white and bare ground (2-wire cable) | One switched hot for fan and light | Black to fan black and blue, white to white, grounds together. Use pull chains or a remote for separate control. |
| Black, red, white and bare ground (3-wire cable) | Two switched hots from two wall switches | Black to fan black, red to blue (light), white to white, grounds together. |
| Several cables spliced together | Power passes through to other lights or outlets | Leave pass-through splices intact and label everything. If you can’t identify each cable, call an electrician. |
| Fan with a remote receiver | A receiver sits between house wiring and fan | House black and white to the receiver input; outputs to fan and light leads per the manual. |
Want separate wall switches but only have a 2-wire cable? That means running new 3-wire cable with ground (14/3 or 12/3, matched to the breaker size) from the switch box, which usually means fishing cable through finished walls and often needs a permit. A remote receiver is the simpler alternative. Hunter’s installation guide shows diagrams for single-switch, dual-switch and remote setups.
Pro tip: Never control a fan motor with a standard light dimmer, which can make the motor hum and overheat. Use the fan’s pull chain, a remote or a wall control rated for fan motors. To dim only the light kit on its own switched wire, check the fan manual and see our guide on how to install a dimmer switch.
How to install a ceiling fan step by step
- Kill and verify the power. Turn off the breaker, tape a note over it, and confirm with a tester that every wire in the box is dead.
- Remove the old fixture. Take off the shade and bulbs, support the fixture, unscrew the canopy and disconnect the wires, noting which were joined.
- Check or replace the box. Look for a fan rating and push firmly on the box. If it isn’t rated or isn’t solid, install a fan-rated box on a joist, brace bar or blocking.
- Mount the bracket. Fasten the fan bracket with the machine screws supplied with the fan-rated box, not small fixture screws.
- Assemble the motor and downrod. Thread the fan leads through a downrod that puts the blades at a safe height, fit the pin and clip and tighten the set screws.
- Hang the motor. Seat it on the bracket’s hook or ball-and-socket so it hangs securely while you wire it.
- Make the connections. Join all grounds (including the bracket’s ground lead), then white to white, then the black and blue leads as shown in the table. Tug each wire and fold them neatly into the box.
- Attach the canopy. Fasten it, checking that no wire is pinched.
- Install the blades and light kit. Tighten every blade screw evenly, mount the light kit and use bulbs within its marked wattage limit.
- Restore power and test. Test every speed, the reverse switch and the light. Run it on high for a few minutes and watch for wobble, noise or a tripped breaker.
Blade height and clearances
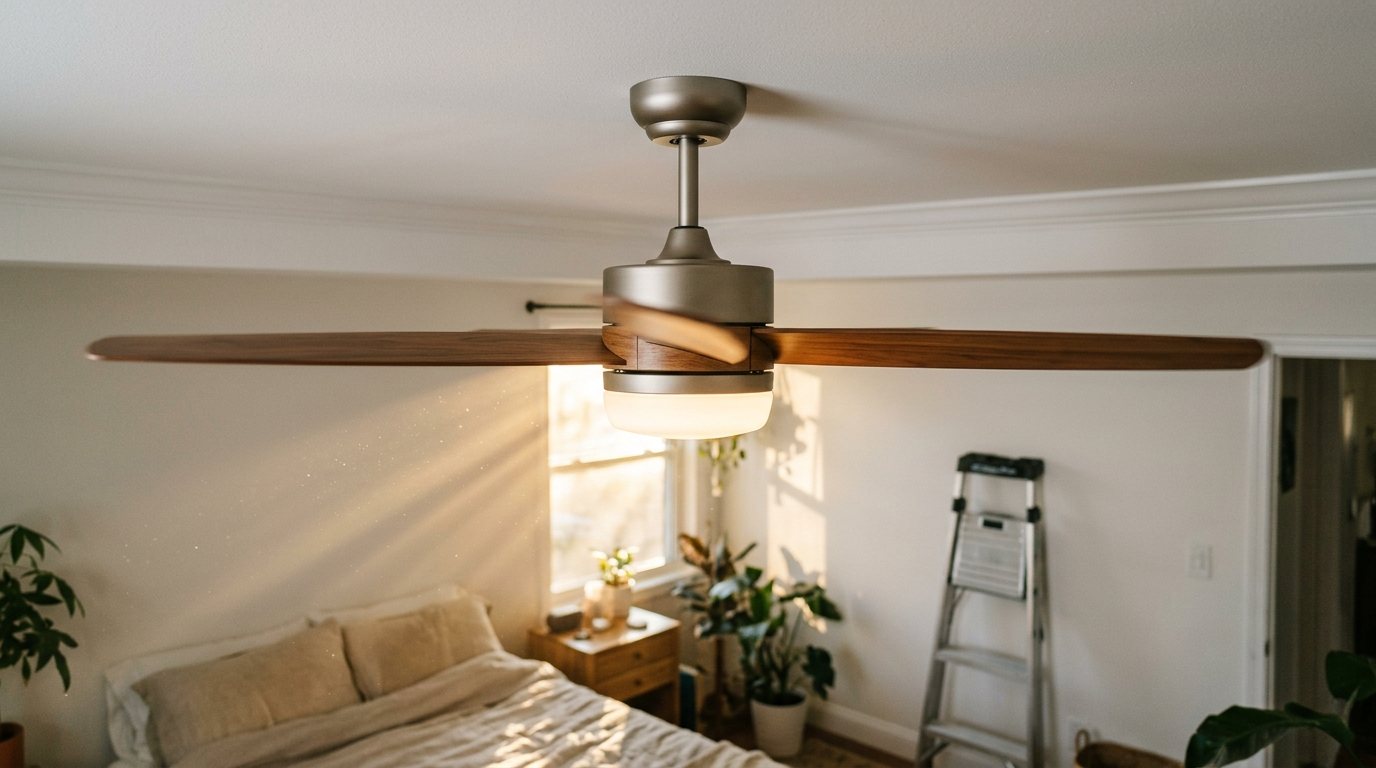
Clearances protect raised hands and tall furniture, and they affect how much air the fan moves. A fan hung too close to the ceiling starves the blades of air, while one hung too low becomes a hazard.
- Floor to blades: at least 7 feet, the minimum fan makers call for; 8 to 9 feet works well in taller rooms.
- Ceiling to blades: around 8 inches or more helps airflow.
- Blade tips to walls: at least 18 inches is a common minimum, and some makers recommend 30 inches.
- Sloped ceilings: use a mount rated for the pitch and a downrod long enough that the blades clear the high side.
For sizing, divide the room’s square footage by four for a rough blade span in inches, so a 200-square-foot bedroom suits a fan of about 50 inches. With an 8-foot ceiling, a low-profile (hugger) fan is usually the only way to keep 7 feet of clearance.
How to fix a wobbly ceiling fan
A little movement on high speed is normal, especially with a long downrod. A wobble you can see from across the room usually comes from something loose or mismatched blades. Turn the fan off and let it stop first.
- Tighten everything. Check the bracket, downrod, canopy, blade and blade iron screws.
- Check the mount. If the bracket or box shifts when you push on it, turn off the breaker and fix the support before anything else.
- Check blade alignment. Measure from the ceiling to each blade tip at the same point. A blade noticeably higher or lower usually has a bent blade iron that needs replacing.
- Use the balancing kit. Clip the balancing clip mid-blade on one blade, run the fan and note the wobble. Repeat on each blade, find the best spot on the worst blade, then stick a weight there.
- Swap blades. Swapping two neighboring blades sometimes helps, since blades are often weight-matched as a set.
When to call a pro
Swapping a light for a fan on existing, properly supported wiring is a reasonable DIY job if you’ve done basic work like replacing a light fixture. Hire a licensed electrician when you see any of these red flags:
- There’s no ceiling box or wiring where you want the fan, or you need new cable runs or switches.
- You find aluminum or cloth-insulated wiring, scorched insulation or brittle wires.
- The box holds cables you can’t identify, or wires from more than one circuit.
- You can’t fasten a fan-rated box to framing, or the ceiling is very high or steeply sloped.
- The breaker trips when you restore power, or you notice heat, buzzing or a burning smell.
Permit rules vary, and many areas require one for new wiring or circuits, so check with your local building department first. Fixr’s ceiling fan installation cost guide puts replacing one fan at a national average of about $475, with a typical range of $337 to $613. It lists electrician labor to swap an existing fan at roughly $228 to $415, and adding a separate wall switch at about $288 to $524.
Frequently asked questions
Can I replace a light fixture with a ceiling fan?
Usually, yes. A light uses the same switched hot, neutral and ground a fan needs. The catch is the box: if it isn’t marked for fan support and fastened to framing, replace it with a fan-rated box and brace first.
Do I need an electrician to install a ceiling fan?
For a straight swap on a sound, fan-rated box, many homeowners do it themselves where local rules allow. If you need new wiring, a new switch or a new location, or you’re unsure about anything in the box, hire a licensed electrician.
Can I install a ceiling fan on a sloped ceiling?
Yes, if the mount is rated for your ceiling’s angle. Many fans handle moderate slopes with a ball-and-socket mount, while steeper pitches need an angled adapter and a longer downrod.
Why does my new ceiling fan wobble?
The usual causes are loose screws, a bent blade iron, unevenly weighted blades or a box that isn’t secured to framing. Tighten everything, measure blade heights, then use the balancing kit. If the box moves, fix the support first.
What does the blue wire on a ceiling fan connect to?
The blue lead powers the light kit. Connect it to the same switched hot as the black lead if one switch controls everything, or to the second switched wire (often red) if you have two switches. With no light kit, cap it with a wire connector.
The bottom line
A safe ceiling fan install comes down to support and wiring. Turn off the breaker and verify with a tester, use a fan-rated box tied into framing, match the wires to what’s in the box, keep the blades at least 7 feet above the floor and balance any wobble. When the job grows into new wiring or anything you can’t identify, a licensed electrician is worth the cost.