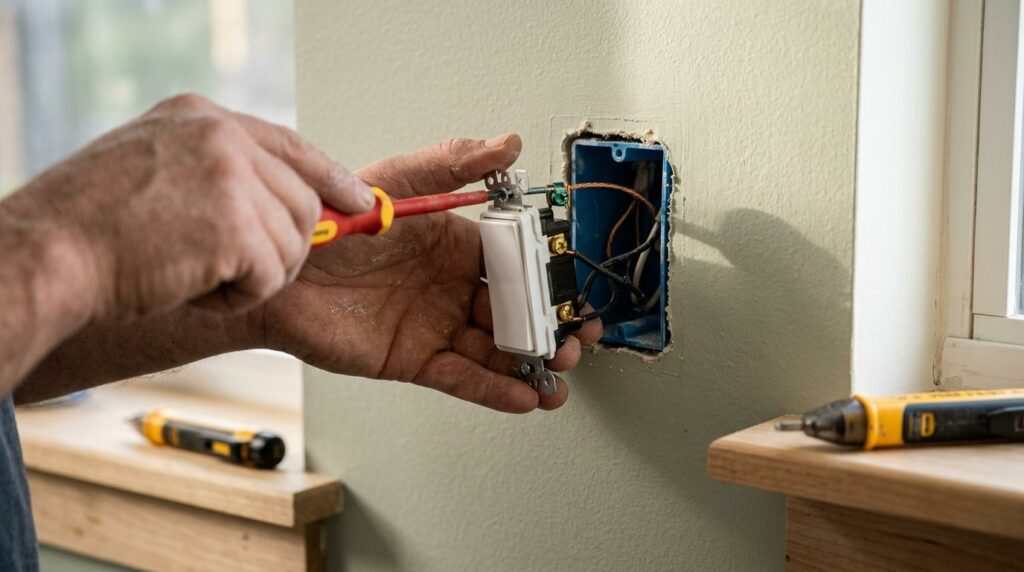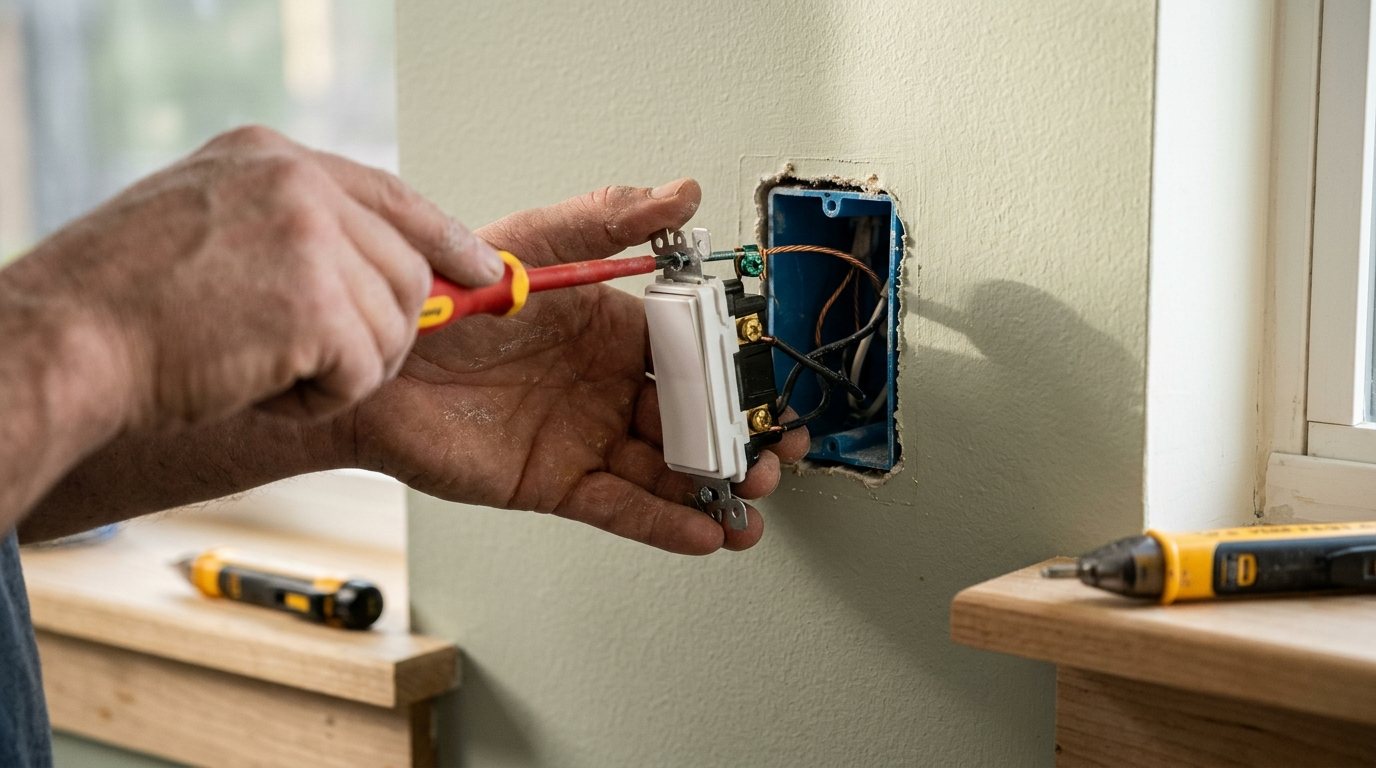
Your light switch feels mushy, crackles when you flip it, only works if you hold it just right, or you simply want a dimmer or a modern rocker in place of an old toggle. Replacing a light switch is one of the most approachable electrical jobs in a house, as long as you follow a few strict safety steps and understand what type of switch you have.
This guide explains the difference between single-pole, 3-way and dimmer switches, how to shut off and verify the power, how to wire each type with the ground connected properly, and how to test your work. It also covers the situations where you should stop, including aluminum wiring, which needs a licensed electrician.
Quick answer: Turn off the breaker and confirm the switch is dead with a non-contact voltage tester. Remove the old switch, label the wires (especially the one on the dark “common” screw of a 3-way), then connect the same wires to the same positions on a new switch of the same type, with the bare or green ground on the green screw. Fold the wires in, mount the switch, restore power and test. If you see aluminum wire, scorch marks or wiring you cannot identify, stop and call a licensed electrician.
Know your switch type before you buy
The most common mistake is buying the wrong kind of switch. Look at how many places control the light and count the screw terminals on the old switch once it is out.
| Switch type | What it does | Terminals | How to recognize it |
|---|---|---|---|
| Single-pole | Controls a light from one location | 2 brass screws plus green ground | Toggle is marked ON and OFF |
| 3-way | Controls a light from two locations | 1 dark “common” screw, 2 brass traveler screws, plus ground | No ON/OFF markings; another switch controls the same light |
| 4-way | Used between two 3-ways for three or more locations | 4 screws (two pairs) plus ground | Middle switch when three switches control one light |
| Dimmer | Adjusts brightness | Wire leads or screws; single-pole or 3-way versions | Slider, knob or paddle; check its rated load |
| Smart switch | Remote or scheduled control | Usually needs a neutral wire | Check the box for a bundle of white wires |
Dimmers and LED bulbs
If you are installing a dimmer, choose one rated for the type of bulbs you use. Many older dimmers were designed for incandescent bulbs and can make LEDs flicker or buzz. The ENERGY STAR guide to dimmable LEDs recommends checking the bulb maker’s list of compatible dimmers. Also check the dimmer’s maximum wattage, and note that installing several dimmers side by side in one box can reduce each one’s rating, so follow the instructions in the package. If your lights already flicker, see our guide to lights flickering in the house.
Smart switches and the neutral wire
Most smart switches need a neutral wire to power their electronics. Newer homes usually have a bundle of white neutral wires joined with a wire nut at the back of the box, because codes now require a neutral at most switch locations. Many older homes do not have one. If you do not see white wires tied together in the back of the box, buy a model designed to work without a neutral, or ask an electrician.
Safety first: before you touch anything
Safety note: Always turn off the breaker for the circuit and verify the power is off with a non-contact voltage tester that you have just checked on a known live outlet. A switch box can contain wires from more than one circuit, so test every wire, not just the switch. Some jurisdictions require a permit or a licensed electrician even for simple replacements, so check with your local building department, and never work on wiring while standing on a wet floor.
Watch for aluminum wiring
Some homes built in the mid-1960s to the mid-1970s were wired with aluminum branch circuits. The wire looks dull silver rather than copper, and the cable jacket may be marked “AL” or “ALUMINUM.” According to the U.S. Consumer Product Safety Commission’s aluminum wiring guide, aluminum connections can overheat and start fires, and the CPSC strongly advises homeowners not to attempt repairs themselves. It recommends a qualified electrician using approved connection methods, and considers switches labeled CO/ALR an incomplete fix. If you find aluminum wire, put the cover back on and call a pro.
Tools and materials
- New switch of the correct type and amp rating (match the old one, usually 15 amps)
- Non-contact voltage tester
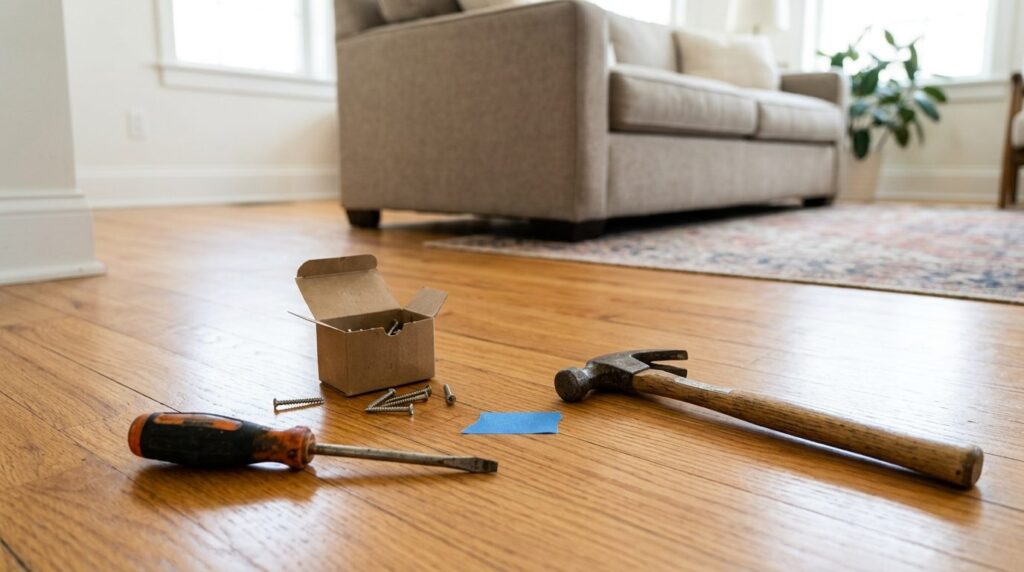
- Insulated flat and Phillips screwdrivers
- Wire stripper and needle-nose pliers
- Painter’s tape and a marker for labeling wires
- Wire nuts sized for your wires (for dimmers with wire leads)
- Flashlight or headlamp
How to replace a single-pole light switch
- Turn off the power. Switch off the breaker for the light. Turn the light on first, so you can see it go out when you hit the right breaker.
- Verify it is dead. Remove the cover plate. Check your non-contact tester on a live outlet, then hold it near each wire and terminal in the box. If anything still reads live, find and turn off that breaker too.
- Remove the switch. Unscrew the two mounting screws and gently pull the switch out of the box so you can see the wires. Take a clear photo.
- Inspect the wires. Look for discoloration, brittle or cracked insulation, nicked copper or aluminum wire. If you see any, stop and call an electrician.
- Disconnect the old switch. Loosen the terminal screws and unhook the wires. If wires are pushed into holes in the back (backstab connections), release them by pressing a small screwdriver into the release slot, or cut them off close to the switch and strip about 3/4 inch (19 mm) of fresh insulation.
- Connect the ground. Attach the bare copper or green ground wire to the green screw on the new switch.
- Connect the two hot wires. On a single-pole switch, the two wires go to the two brass screws and either can go to either screw. Bend a clockwise hook in each wire, wrap it clockwise around the screw, and tighten firmly. If one wire is white, it is being used as a hot wire and should be wrapped with black or red tape to mark it.
- Mount the switch. Fold the wires neatly into the box, screw the switch to the box with the toggle’s ON marking at the top, and install the cover plate.
- Test it. Turn the breaker back on and flip the switch several times. The light should turn on and off cleanly with no buzzing, crackling or warmth.
How to replace a 3-way switch
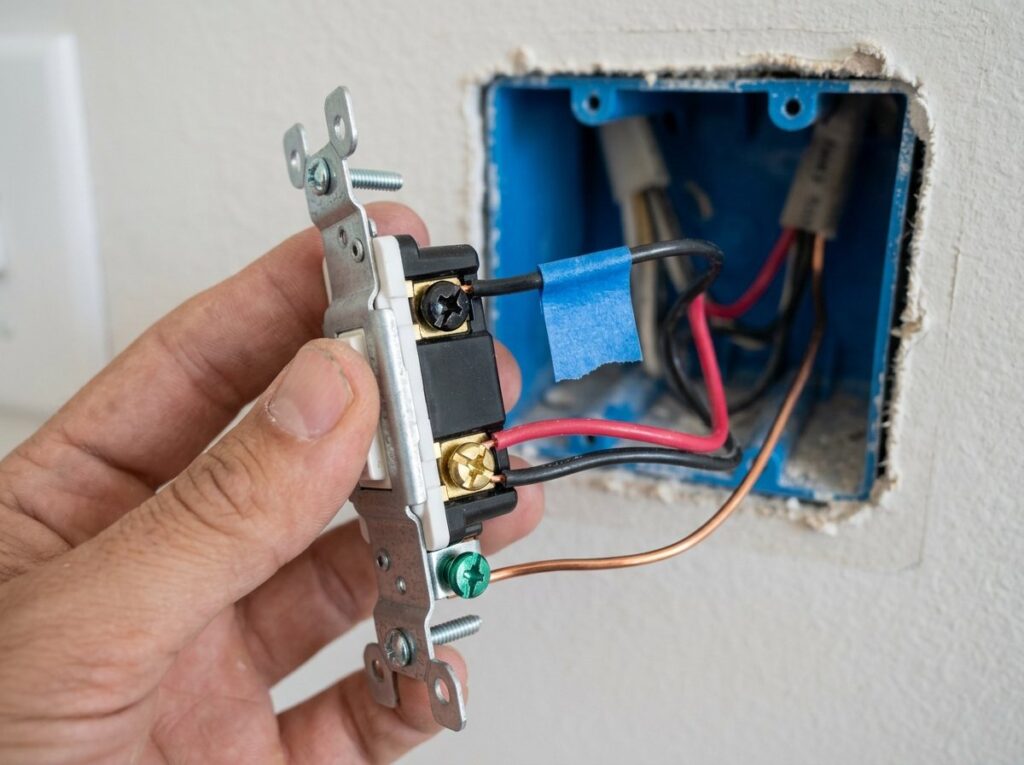
A 3-way switch has three terminals plus ground, and the most important wire is the one on the darker screw, labeled COMMON. That wire either brings power in or carries it to the light. The other two wires, called travelers, run between the two 3-way switches, and they can go on either brass screw.
- Turn off the breaker and verify every wire in the box is dead, as above.
- Pull out the old switch and find the dark (black or copper-colored) common screw. Wrap a piece of tape around the wire attached to it and mark it “COMMON.” Do this before removing anything.
- Move the common wire to the dark common screw on the new switch.
- Connect the two traveler wires to the two brass screws, in either order.
- Connect the ground to the green screw.
- Fold the wires in, mount the switch, install the cover and test the light from both switch locations.
If the light only works when the other switch is in one position, the common wire most likely ended up on a traveler screw. Turn the power off and check it. If you lost track of which wire was common and cannot work it out, stop and call an electrician rather than guessing.
How to install a dimmer switch
Many dimmers have wire leads (pigtails) instead of screws. Connect the dimmer’s green lead to the bare ground with a wire nut, then connect its two other leads to the two hot wires on a single-pole dimmer. A 3-way dimmer has a marked common lead plus two traveler leads, which connect like the screw terminals above.
Twist each wire nut on clockwise until the wires turn together and no bare copper shows below the nut, then tug each wire gently to make sure it is secure. Dimmers are bulkier than standard switches, so fold the wires carefully to avoid forcing them against the box. Feel the dimmer after an hour of use: a mild warmth is normal, but hot is not. Our guide to a warm outlet or light switch explains the difference.
Grounding: what if there is no ground wire?
Most homes built since the 1960s have a bare copper ground in every switch box, and it should always be connected to the new switch’s green screw. In a grounded metal box, the ground wires are usually also attached to the box itself with a green screw.
Some older homes have no ground wire in the box. Electrical codes allow certain options for replacing a switch in an ungrounded box, such as using a non-metallic cover plate, but the rules are specific. If there is no ground, use a plastic cover plate and ask a licensed electrician what your local code requires before you go further.
Common mistakes to avoid
- Trusting the switch position instead of a tester. Turning a switch off does not make the wires in the box safe. Always use the breaker and verify with a tester.
- Losing track of the 3-way common wire. Label it before you unscrew anything.
- Using backstab holes on the new switch. Side screws give a more secure, longer-lasting connection.
- Wrapping wires counterclockwise. The screw will push the wire out as it tightens.
- Buying a dimmer that does not match the bulbs. Check LED compatibility and the wattage rating.
- Overstuffing the box. Crushed wires can loosen or damage insulation.
When to call a pro
Call a licensed electrician if:
- You find aluminum wiring, cloth-covered wiring, or brittle or scorched insulation.
- The breaker trips as soon as you restore power. That usually means a short, and our guide on why a circuit breaker keeps tripping explains what to check.
- The box contains several cables and you cannot tell which wires belong to the switch.
- The new switch is hot to the touch, buzzes or smells of burning.
- You want to add a new switch location, a neutral wire or a 3-way where there is none.
Hiring out the job is usually affordable. HomeAdvisor’s electrician cost guide lists light switch installation at typically $85 to $200, with hourly rates of about $50 to $130. Many electricians charge a minimum service fee, so it can be worth having several switches or outlets done in the same visit.
Frequently asked questions
Can I replace a light switch myself?
In many areas homeowners can replace a switch in their own home, but rules vary, so check with your local building department. The job is straightforward if you turn off the breaker, verify the power is off with a tester and match the switch type. Leave aluminum wiring and anything you cannot identify to an electrician.
Does it matter which wire goes on which screw?
On a single-pole switch, the two hot wires can go on either brass screw. On a 3-way switch, it matters: the common wire must go on the dark common screw, and the two travelers go on the brass screws in either order.
Why is there a white wire connected to my switch?
In some switch loops, a white wire is used as a hot conductor between the light and the switch. It should be marked with black or red tape. Treat it as live and reconnect it exactly where it was.
Why doesn’t my new switch work?
Check that the breaker is on and that the wires are tight under the screws. For a 3-way, a common wire on the wrong terminal is the usual cause. If the breaker trips or the switch gets hot, turn the power off and call an electrician.
Do I need a neutral wire for a smart switch?
Most smart switches need one, though some models are designed to work without it. Look for white wires tied together in the back of the box. If there are none, choose a no-neutral model or have an electrician run a neutral.
The bottom line
Replacing a light switch is a beginner-friendly job when you buy the right type, turn off the breaker and verify the power is off with a tester. Label the wires, especially the common on a 3-way, connect the ground, and test before you put the tools away. Aluminum wiring, damaged insulation or a breaker that trips are your signals to stop and call a licensed electrician.