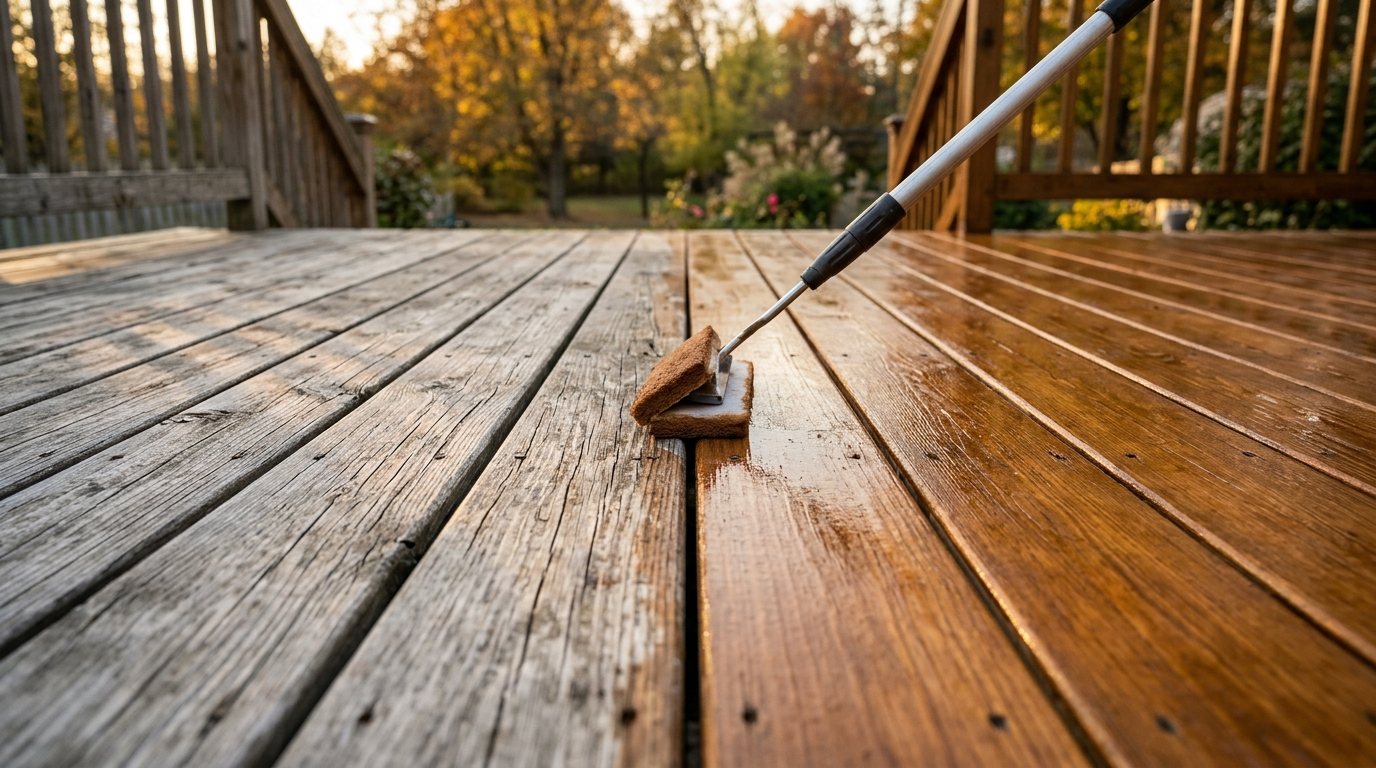
Your deck has gone gray, the boards look thirsty, and water no longer beads on the surface. Maybe last year’s stain is peeling in the high-traffic spots and you are not sure whether to strip it, sand it or just paint over it. Staining a deck is a very doable weekend project, but most failures come from rushing the prep or picking the wrong day.
This guide walks you through when to stain (weather, temperature and new wood), how to clean and brighten the boards, how to choose between transparent, semi-transparent and solid stain, how to apply it without lap marks, how long it needs to dry, and how often you will need to do it again.
Quick answer: Pick a dry, mild, overcast stretch with no rain forecast for at least 24 hours. Clean the deck with a deck cleaner, rinse, let it dry for a day or two, and sand any rough spots. Then apply one even coat of penetrating semi-transparent stain a few boards at a time, back-brush it into the wood, wipe off puddles, and keep traffic off for at least 24 hours.
When to stain a deck
Weather and temperature
Timing matters as much as technique. Stain needs dry wood, dry air and moderate temperatures to soak in and cure properly. Home Depot’s deck staining guide recommends working in the early morning or late afternoon, out of direct sun, and allowing 24 hours before the deck sees rain.
- Check the can for the minimum application temperature, and make sure overnight lows will stay above it, not just the daytime high.
- Avoid hot, sunny afternoons. Stain flashes off a sun-baked board before it can penetrate, which leaves lap marks.
- Skip days with heavy dew or fog in the forecast, since moisture on the surface can leave a blotchy finish.
Late spring and early fall usually offer the best conditions. If you are reading this in late fall and nights are already near freezing where you live, it is usually smarter to clean the deck now and stain in spring than to force a coat on cold, damp wood.
New wood: how long to wait
New pressure-treated lumber is often wet from the treatment process, and stain cannot soak into wood that is already full of water. Home Depot suggests letting new pressure-treated decking dry for 2 to 4 months. The USDA Forest Products Laboratory notes that clean, dry treated wood can take a finish sooner, so the real test is moisture, not the calendar.
Use the water drop test. Sprinkle a few drops of water on several boards, including shaded ones. If the water beads up and sits on top, the wood is not ready. If it soaks in within a few minutes, you can stain. New cedar and other untreated woods are usually ready sooner, but test them the same way.
Tools and materials
- Deck cleaner and, if needed, a deck brightener (oxalic acid type)
- Stiff synthetic-bristle scrub brush on a pole
- Garden hose, or a pressure washer with a 45-degree tip
- Orbital or pole sander with 60- or 80-grit paper
- Hammer and nail set or a drill with deck screws
- Exterior penetrating deck stain
- Stain pad applicator or roller on a pole, plus a 3- to 4-inch brush
- Painter’s tape and plastic sheeting or drop cloths for siding and plants
- Chemical-resistant gloves and safety glasses
- A metal can with a lid for used rags
Step 1: Inspect and repair
Move furniture, grills and planters off the deck and sweep it clean, including the gaps between boards. Walk the whole surface looking for loose or raised nails, popped screws, soft or cracked boards and wobbly railings. Set nails below the surface or replace them with deck screws, and replace any board that feels spongy, since stain will not save rotted wood.
Now is also the time to check the posts and framing underneath. If a railing post or fence post nearby is leaning, our guide on how to fix a leaning fence post covers the fix.
Step 2: Clean and brighten the deck
Cleaning is the step that decides how good the finish looks and how long it lasts. Stain applied over dirt, mildew or gray, weathered fibers will not bond well and fails early.
- Cover nearby plants with plastic sheeting and wet them down first, then mask off siding and door thresholds.
- Apply deck cleaner according to the label and let it sit, typically around 15 minutes, keeping it wet.
- Scrub with a stiff synthetic brush, working along the grain.
- Rinse thoroughly with a hose. If you use a pressure washer, Home Depot recommends a 45-degree tip at around 1,200 to 1,400 psi, held a steady distance away and moved with the grain. Too much pressure or a narrow tip will gouge the wood and raise fuzzy fibers.
- If the boards are still gray or show dark tannin stains, apply a deck brightener. Brighteners restore the natural color and neutralize alkaline cleaners and strippers so stain absorbs evenly.
- Let the deck dry for a day or two, then run the water drop test again.
If the old finish is peeling or is a solid stain you want to switch away from, you will need a deck stripper rather than a cleaner. Home Depot also warns that oil-based and water-based finishes are not compatible, so if you don’t know what is on the deck now, test a hidden spot with stripper first.
Pro tip: Avoid steel wool and wire brushes on cedar and redwood. The Forest Products Laboratory notes that tiny iron particles left behind react with the tannins in these woods and leave dark stains.
Step 3: Sand rough spots
Once the wood is dry, sand any fuzzy, splintered or raised areas with 60- or 80-grit paper. You don’t need to sand the whole deck to bare wood, and sanding too fine actually closes the grain and reduces how much stain soaks in. Our sandpaper grit guide explains why coarse grits suit exterior wood. Sweep or blow off all the dust before staining.
Step 4: Choose the right stain
Deck stains range from nearly clear to fully opaque. The more pigment a stain has, the better it blocks UV light and hides wood grain, but on walking surfaces the heavier products are also more likely to wear through and peel. The USDA Wood Handbook chapter on finishing rates penetrating semi-transparent stains as a strong choice for decks and notes that solid-color stains lack abrasion resistance on horizontal surfaces.
| Stain type | Look | Typical life on deck boards | Best for |
|---|---|---|---|
| Clear or transparent (water repellent or lightly tinted) | Shows full grain, little color | About 1 to 3 years (Forest Products Laboratory) | New, attractive wood like cedar where you want a natural look |
| Semi-transparent | Adds color, grain still visible | About 2 to 3 years on new smooth boards, 3 to 6 years on weathered or rough-sawn boards (Forest Products Laboratory) | Most decks, the best balance of looks and durability |
| Solid (opaque) | Hides grain like paint | Often quoted at 4 to 5 years, but prone to wear and peeling in traffic areas | Older, mismatched or patched boards, and railings |
Oil-based or water-based?
Oil-based penetrating stains soak deep into the wood and tend to wear away gradually, which makes recoating easy. Water-based stains dry faster, clean up with water and have less odor, and modern versions perform well. The bigger rule is to stay compatible with what is already on the deck, or strip it first.
Step 5: Apply the stain
- Stir the stain well, and if you bought more than one can, mix them together so the color is consistent.
- Test the color on a hidden spot and let it dry, since stain looks different wet.
- Start with the railings and balusters, working top to bottom with a brush or pad, so drips land on boards you have not done yet.
- Do the deck boards last, planning a route that ends at the stairs or a door so you don’t trap yourself.
- Work two or three boards at a time along their full length. Stopping in the middle of a board leaves visible lap marks where wet stain meets dry.
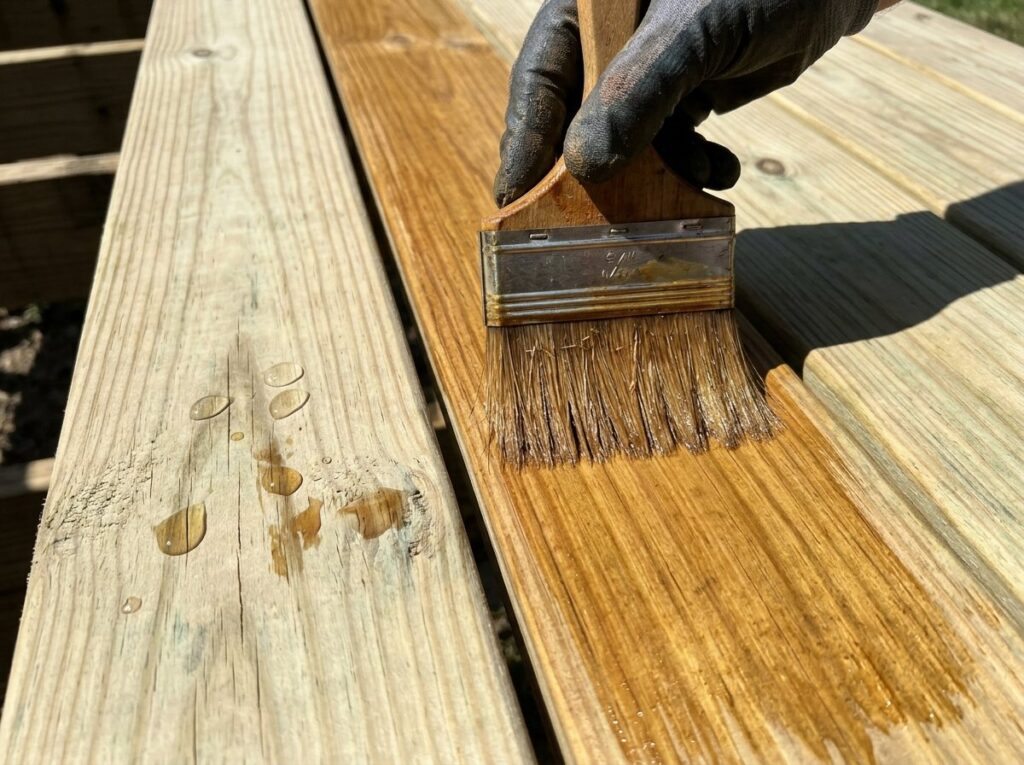
- Apply a thin, even coat with a pad or roller, then back-brush to push stain into the grain and board ends. Brush stain into the gaps and end grain, which absorb the most water.
- Wipe up puddles and shiny spots after about 15 minutes. A penetrating stain should soak in, not sit on top, and excess will stay tacky and peel.
- Apply a second coat only if the label calls for it, usually wet-on-wet within a short window. One coat is enough for most semi-transparent stains.
Safety note: Rags soaked with oil-based stain can heat up and catch fire on their own as they dry. Never leave them balled up in a pile or a trash can. Lay them flat outdoors to dry, or put them in a metal container filled with water and sealed with a lid, then dispose of them according to local rules.
Dry times and when you can use the deck
Most stains are dry to the touch within a few hours, but they need longer before foot traffic and furniture. Home Depot advises at least 24 hours before walking on the deck or exposing it to rain, and Olympic notes that drying can take 24 to 48 hours depending on the wood, temperature and humidity. Cool, humid weather slows curing, so give it the longer end of the range in fall.
Wait a little longer before dragging heavy furniture or grills back, and use pads under metal feet to avoid scuffing the fresh finish.
How often to restain a deck
Home Depot suggests restaining every 3 to 5 years, but the real answer depends on stain type, sun exposure and foot traffic. Sunny, south-facing decks and busy paths to the door wear fastest. Check every spring with the water drop test: when water soaks in quickly instead of beading, or the color has faded noticeably, it is time for a maintenance coat.
The good news is that recoating a penetrating stain is much easier than the first job. Clean the deck, brighten if needed, and apply a fresh coat of the same product. Solid stains are harder to maintain, because once they peel you usually need to strip or sand before recoating. Adding a quick deck inspection to your fall home maintenance checklist helps you catch worn spots early.
When to call a pro
Staining is DIY-friendly, but call a deck contractor or experienced painter if you see:
- Soft, spongy or rotted boards, joists or posts, or a deck that sways or bounces
- Loose ledger board connections where the deck meets the house
- Thick, peeling solid stain or paint over a large area that needs stripping
- A second-story deck where railing and stair work means working at height
According to Bob Vila’s cost guide, which draws on Angi and HomeAdvisor data, professional deck staining typically runs about $540 to $1,250, or roughly $2 to $4 per square foot, with cleaning or power washing adding about $0.50 to $1.50 per square foot.
Frequently asked questions
Do I need to pressure wash a deck before staining?
No, a deck cleaner, a stiff brush and a garden hose work well and are gentler on the wood. If you do use a pressure washer, keep the pressure moderate, use a wide tip, and move with the grain to avoid gouging.
Is it better to roll or brush deck stain?
Many people use both: a pad or roller to apply stain quickly and a brush to work it into the grain, gaps and end cuts. Back-brushing gives better penetration and a more even look than rolling alone.
How long after rain can I stain my deck?
The wood needs to be dry, which often takes a day or two of sun and breeze after a soaking rain. Use the water drop test, and check that no rain is expected for at least 24 hours after you finish.
Can you put new stain over old stain?
Yes, if the old stain is a compatible penetrating stain that has worn evenly and the deck is clean. If the old finish is peeling or is a solid stain and you want a semi-transparent look, strip it first.
Should I stain my deck in the fall?
Early fall is often a great time because temperatures are mild and the sun is less intense. Late fall is riskier: cold nights, dew and short days slow drying, so wait for spring if overnight lows are below the minimum on the can.
The bottom line
A good deck stain job is mostly preparation: wait for dry wood and mild weather, clean and brighten thoroughly, sand rough spots, then apply a thin coat of penetrating stain a few boards at a time and back-brush it in. Choose semi-transparent stain for the best balance of color and durability, give it at least a day to dry, and plan a light maintenance coat every few years.