You slid a chair, the dog took a corner too fast, or a pebble got stuck under a shoe, and now there is a pale line across your hardwood floor that catches the light every time you walk past. It is tempting to grab the first scratch fix you see online, but the right repair depends on how deep the scratch goes and what finish your floor has.
This guide shows you how to tell a finish scratch from a scratch in the wood, then walks through each fix from easiest to most involved: cleaning and touch-up finish, stain markers and wax sticks, wood filler for gouges, and a screen and recoat for floors covered in fine scratches. You will also learn how to keep new scratches from appearing and when a pro is worth the cost.
Quick answer: If the scratch is white or gray and your fingernail does not catch, it is only in the finish: clean it and touch it up with a matching clear finish, or screen and recoat the room if there are many. If the scratch shows bare or darker wood, color it with a stain marker or wax filler stick. For gouges, fill with stainable wood filler, sand flush, color-match and seal.
Step one: figure out what kind of scratch you have
Clean the area with a hardwood floor cleaner first, because dirt in a scratch makes it look worse than it is. Then look closely in good daylight and run a fingernail across the mark.
Finish-only scratches
These look white, gray or cloudy because light is scattering off scuffed polyurethane, not the wood. Your fingernail glides over them or barely catches. A good test is to wipe the scratch with a damp cloth: if it nearly disappears while wet, the damage is in the finish and a clear touch-up or recoat will fix it.
Scratches into the wood
When a scratch cuts through the finish, you will see lighter raw wood or a dark line where dirt has worked into the fibers. Your fingernail catches in the groove. Clear finish alone will not hide these; they need color first.
Gouges and dents
Gouges remove wood and leave a visible trench, often with splinters at the edges. Dents crush the wood fibers without breaking them. Both need filling or, for widespread damage, sanding.
Know your floor and finish
Most floors today have polyurethane, either applied on site or baked on at the factory with tough aluminum oxide additives. Engineered hardwood has a thin real-wood layer over plywood, so you cannot sand it as aggressively as solid hardwood. Older floors may have a wax finish; if scraping a coin in a closet corner lifts a waxy smudge, use wax-based repairs only and skip polyurethane products.
| Scratch type | How to spot it | Best fix | DIY level |
|---|---|---|---|
| Light finish scuff | White or gray, vanishes when wet | Clean, touch-up finish pen or small brush | Easy |
| Many finish scratches | Dull traffic lanes, gray haze | Screen and recoat | Moderate |
| Scratch into wood | Raw or dark wood shows, nail catches | Stain marker or wax filler stick | Easy |
| Deep gouge | Trench, splinters, missing wood | Stainable wood filler, sand, color, seal | Moderate |
| Large damaged area | Many gouges, bare wood, gray stains | Board replacement or full refinish | Pro |
Tools and materials
- Hardwood floor cleaner and microfiber cloths
- Stain markers or touch-up pens in two or three shades near your floor color
- Wax filler sticks or a hardwood scratch repair kit
- Stainable or pre-colored wood filler and a flexible plastic putty knife
- Fine sandpaper (220 grit) and a small sanding block
- Clear floor finish in the same sheen as your floor, plus a small artist’s brush
- Wood glue and painter’s tape for lifted splinters
- Mineral spirits or the cleaner your finish maker recommends
- Nitrile gloves and good ventilation
How to fix light scratches in the finish
A few isolated finish scratches are the easiest repair. The goal is to fill the scuffed area with fresh clear finish so it reflects light like the floor around it.
- Clean the scratch and let it dry completely.
- Buy a clear floor finish or polyurethane touch-up pen that matches your sheen: matte, satin or semi-gloss. A sheen mismatch is more noticeable than the scratch itself.
- Apply a thin line of finish with the pen or a fine artist’s brush, keeping it inside the scratch.
- Wipe away anything outside the scratch right away with a barely damp cloth.
- Let it dry according to the label, then add a second thin coat if the scratch still shows.
Avoid “rejuvenator” or polish products that promise to hide scratches across the whole floor. They can leave a film on top of the finish that makes a future professional recoat much harder, because new finish does not bond well to that residue.
How to hide wood scratches with markers and wax sticks
Stain markers and touch-up pens
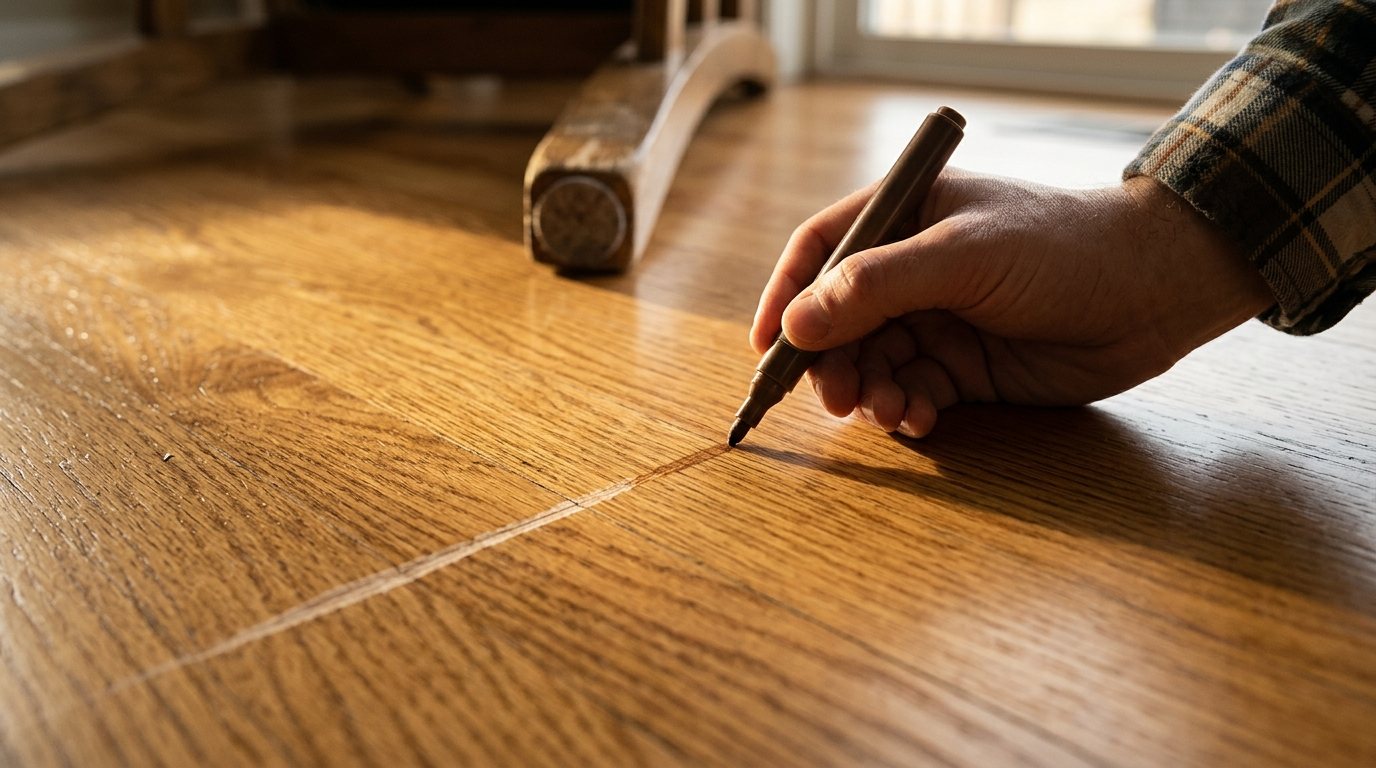
Markers work best on thin scratches that expose lighter wood. Start with a shade slightly lighter than your floor, because you can always darken but cannot lighten.
- Test the marker on a closet floor or a scrap board in natural light.
- Draw along the scratch in the direction of the grain, using short strokes.
- Wipe the excess off immediately with a soft cloth so only the groove keeps the color.
- Layer a second shade if your floor has light and dark grain lines.
- Once dry, seal with a dab of clear finish so the color does not wear off.
Wax filler sticks
Wax sticks fill slightly deeper scratches that a marker cannot. Rub the stick across the scratch until the groove is full, scrape off the excess with a plastic card, and buff with a soft cloth. Blend two colors by warming small pieces together in your fingers if one shade does not match.
Use wax only as a spot repair. Wax left on a polyurethane floor is one of the main reasons a later recoat fails, so if you plan to screen and recoat soon, use filler and markers instead, or tell your contractor where the wax repairs are so they can remove them.
How to fill deep scratches and gouges
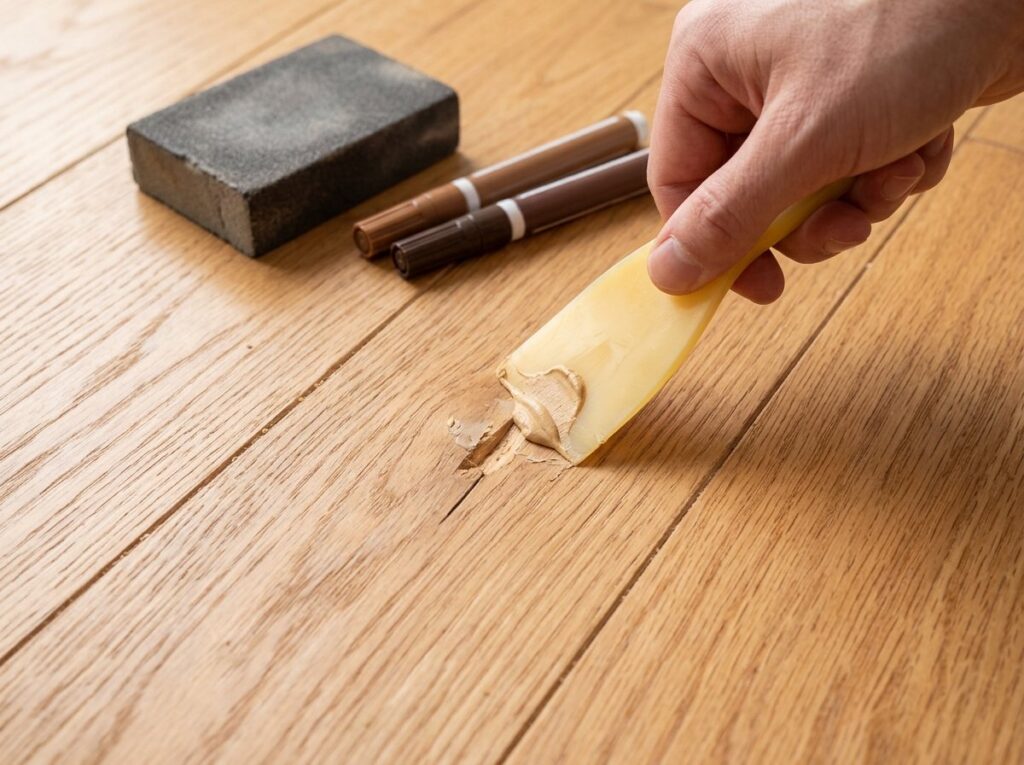
Deep damage needs material put back. A stainable or pre-colored wood filler is the most durable DIY option, and the sequence is always the same: clean, fill, sand flush, color and seal.
- Vacuum the gouge and clean it with mineral spirits or your floor cleaner. Let it dry.
- If a splinter is still attached, do not pull it off. Work a little wood glue under it with a toothpick, press it down, tape it and let the glue dry overnight.
- Press filler into the gouge with a plastic putty knife, slightly overfilling it because most fillers shrink as they dry.
- Let it dry fully, often several hours. Deep fills may need a second layer.
- Sand the patch flush with 220-grit paper on a small block, keeping the sanding inside the repair as much as possible.
- Color the patch with stain markers, adding grain lines with a darker pen if needed.
- Seal with two thin coats of clear finish in your floor’s sheen.
On engineered hardwood, be especially gentle with sanding. The real-wood layer can be thin, and sanding through it exposes plywood that cannot be hidden.
Screen and recoat for floors with lots of fine scratches
If a room has hundreds of fine scratches, dull traffic lanes or pet scuffs, spot repairs are not practical. A screen and recoat lightly abrades the existing finish with a fine screen on a floor buffer, then applies one or two fresh coats of finish. It removes surface scratches and restores sheen without sanding into the wood.
When it works
Screening works when the scratches are in the finish only and the old finish is intact across the floor. It will not remove scratches that reach the wood, gray water stains or bare traffic lanes; those need a full sand. Our guide on how to refinish hardwood floors explains how to decide between the two.
Watch for adhesion problems
New finish has to bond to the old one. Wax, silicone polishes and many shine-restoring products prevent that bond, and factory aluminum oxide finishes are hard and slick enough that they often need special abrading or bonding products. Always do a small test patch in a closet first, and check your flooring maker’s guidance, since some warranties are affected by recoating.
Safety note: Floor finishes give off strong fumes, so open windows, run a fan blowing outward and keep kids and pets away until the finish cures. Rags soaked in oil-based stain or finish can heat up and catch fire as they dry. Consumer Reports advises spreading them flat outdoors until fully dry and hard before throwing them away, never balling them up in a trash can.
How to prevent new scratches
- Felt pads on everything. Put them on chair, table and sofa legs, and replace them as soon as they get gritty or flattened.
- Mats at every entry. Most scratches come from grit tracked in on shoes. A mat outside and inside each door catches most of it.
- Sweep or vacuum often. Use a soft broom or a vacuum with the beater bar off.
- Trim pet nails. Regular trims and rugs in the dog’s favorite running lanes cut down on pet scratches.
- Lift, never drag. Move heavy furniture on sliders or a dolly over a sheet of hardboard.
- Use chair mats under rolling office chairs.
- Keep humidity steady. Very dry winter air makes boards shrink and edges more vulnerable; see our guide to gaps in hardwood floors in winter.
When to call a pro
Call a hardwood flooring contractor if you see any of these:
- Scratches or traffic lanes that have worn through to bare, graying wood
- Gouges deep enough to crack or split a board, or loose and cupped boards
- Black or gray stains near the scratches, which usually mean water got into the wood
- An engineered floor where you cannot tell how thick the wear layer is
- A factory-finished floor that needs a recoat and you are unsure the new finish will bond
Typical costs vary a lot by job size. HomeAdvisor’s hardwood repair guide puts scratch repair at about $25 to $100 per scratch or $1 to $8 per square foot, and replacing a section of boards at roughly $800 to $2,000. This Old House’s refinishing cost guide lists recoating at about $1 to $2 per square foot and full sanding and refinishing at roughly $3 to $8 per square foot. If boards also squeak or move underfoot, our guide to fixing squeaky floors can help before you refinish.
Frequently asked questions
Can you put polyurethane over scratches without sanding?
Not over a whole floor. New finish needs a lightly abraded, clean surface to bond, which is why pros screen before recoating. For one or two small finish scratches, a thin dab of matching finish applied only inside the scratch usually blends well.
Do scratch repair markers really work on hardwood?
Yes, for thin scratches that expose lighter wood. They hide the color difference but do not fill depth, so pair them with a wax stick or filler for deeper marks. Test the color first and seal over it with clear finish so it lasts.
Does the walnut trick fix hardwood scratches?
Rubbing a shelled walnut into a light scratch can darken it with the nut’s natural oils, and it works best on medium to dark floors. It is a cosmetic quick fix only and does nothing for scratches in the finish. Skip it if anyone in the home has a nut allergy.
How do you fix dog scratches on hardwood floors?
Most dog scratches are light finish scratches, so a screen and recoat of the affected room usually removes them. Deeper claw marks can be colored with markers. Going forward, keep nails trimmed and choose a matte or satin sheen at your next refinish, since low sheens hide scratches better than gloss.
Can engineered hardwood scratches be repaired?
Yes. Markers, wax sticks, filler and screen and recoat all work on engineered floors. Be cautious with sanding, because the top wood layer may be thin and some products can only be fully sanded once or not at all.
The bottom line
Start by identifying the scratch: finish-only scratches need clear finish or a screen and recoat, scratches into the wood need color from a marker or wax stick, and gouges need filler, sanding and sealing. Keep wax and shine products to a minimum if you ever plan to recoat, protect the floor with felt pads, mats and trimmed pet nails, and call a pro when damage reaches bare wood across a room or the boards themselves are cracked.