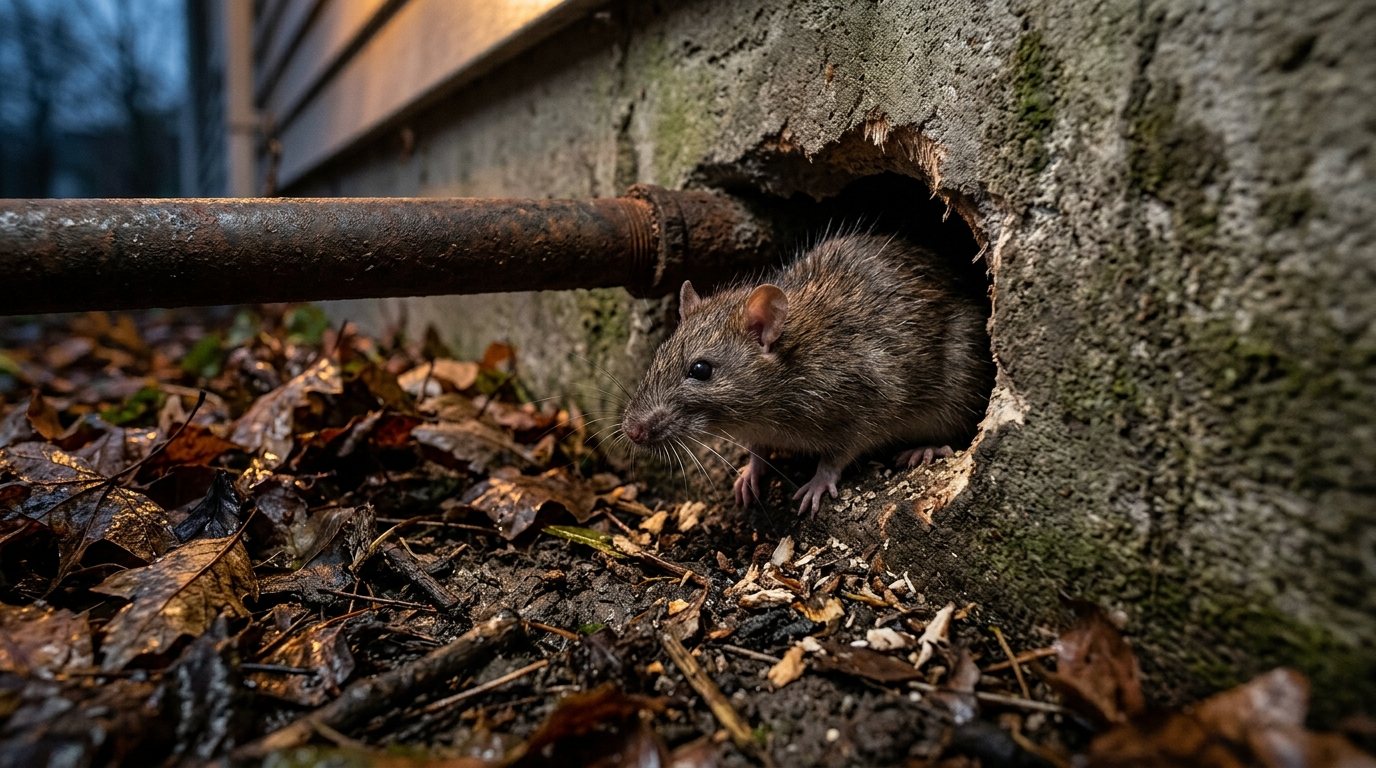
You hear scratching in the ceiling after dark, find droppings behind the trash cans, or see something much bigger than a mouse run along the garage wall. In late fall, rats look for warm shelter and steady food, and a house with a few gaps offers both.
This guide shows you how to confirm it’s rats, tell Norway rats from roof rats, seal entry points and trap effectively. It also covers why poison is riskier than it looks, how to clean up droppings safely and when to call a pro.
Quick answer: Seal every opening larger than 1/4 inch with hardware cloth, sheet metal, mortar or packed steel wool, then set plenty of rat-size snap traps along walls with the trigger end touching the wall. Remove food, water and clutter so your traps are the best meal around. Clean droppings by soaking them with disinfectant, never by sweeping or vacuuming, and call a pro if you see rats in daylight.
Signs you have rats, not mice
Rats and mice leave the same kinds of clues, but rat signs are bigger. Check the basement, garage, attic, under sinks and behind appliances with a bright flashlight.
- Droppings: roughly 1/2 to 3/4 inch long, often clustered along walls. Mouse droppings are about the size of a grain of rice.
- Gnaw marks: large and rough, on wood, plastic, food packaging and sometimes wiring. Fresh marks look pale.
- Rub marks: dark, greasy smudges along baseboards, pipes and the edges of holes where fur brushes the same path.
- Night noises: scratching, thumping or gnawing in walls, ceilings or the attic after dark.
- Burrows: holes along the foundation and under decks, sheds and woodpiles.
- Nests and tracks: shredded insulation, paper or fabric, plus footprints and tail-drag lines in dust.
If you’re finding tiny droppings and small, quick animals, our guide on how to get rid of mice is a better fit.
Norway rats vs roof rats
Most US rat problems involve one of two species. Norway rats live across the country, while roof rats are mostly found in warmer southern and coastal areas. The species tells you where to look and where to trap.
| Feature | Norway rat | Roof rat |
|---|---|---|
| Typical weight | About 7 to 18 oz | About 5 to 10 oz |
| Build | Heavy, stocky, blunt muzzle | Slender, pointed muzzle |
| Tail | Shorter than head and body | Longer than head and body |
| Outdoor nests | Burrows along foundations and under debris | Trees, dense shrubs and ivy |
| Indoors | Basements, crawl spaces, ground floor | Attics, wall and ceiling voids |
| Where to trap | Floor level along walls | Up high on ledges and beams, plus floor level |
Sounds overhead during the day usually mean squirrels, not rats. If that matches, read our guide to squirrels in the attic first.
Step 1: Find and seal entry points
Trapping without sealing is a treadmill: you catch rats and new ones move in. According to University of California IPM, rats can get through openings larger than 1/4 inch, and young rats can squeeze under a door with a 1/2-inch gap.
Where rats get in
- Gaps where pipes, cables, gas lines and AC lines pass through walls or the foundation
- Foundation cracks and crawl space vents with broken screens
- Gaps under exterior doors and worn garage door seals, especially at the corners
- Dryer and exhaust vents with damaged flaps
- Rooflines, soffits and gable vents, plus tree limbs or utility lines touching the house
- Uncapped chimneys and large plumbing vent pipes
What to seal them with
Rats chew through plastic, foam, wood and caulk, so use metal or masonry for the actual barrier.
- Galvanized hardware cloth: UC IPM recommends 1/2-inch galvanized wire cloth, 16-gauge for vents and 19-gauge for ground-level windows. Never use chicken wire.
- Sheet metal: wrap gnawed door corners and make collars around pipe penetrations.
- Steel wool or copper mesh: pack small gaps tightly, then lock it in with sealant or mortar.
- Mortar or concrete patch: fill foundation holes and widened cracks.
- Door sweeps: choose metal-reinforced sweeps and replace chewed garage door seals.
Fall is the best time for this job. Our fall home maintenance checklist covers the vent and siding checks that go with rodent-proofing.
Pro tip: Set traps the same day you finish sealing. Rats shut inside will hunt hard for food and a way out, which makes them easier to catch. Recheck every repair after a few days for fresh chew marks.
Step 2: Take away food, water and shelter
Sanitation alone won’t remove rats, but it makes your traps the most attractive meal in the area.
- Use garbage and compost bins with tight-fitting lids.
- Feed pets only what they finish in one meal, and store pet food and birdseed in metal or heavy lidded containers.
- Take down bird feeders for now, and pick up fallen fruit and nuts.
- Fix dripping faucets and leaks that leave standing water.
- Keep at least 2 feet between shrubs and the house, remove ivy from walls and fences, and cut back limbs that touch the roof.
- Stack firewood off the ground and away from the house, and swap cardboard boxes for lidded plastic bins.
Step 3: Trap rats the right way
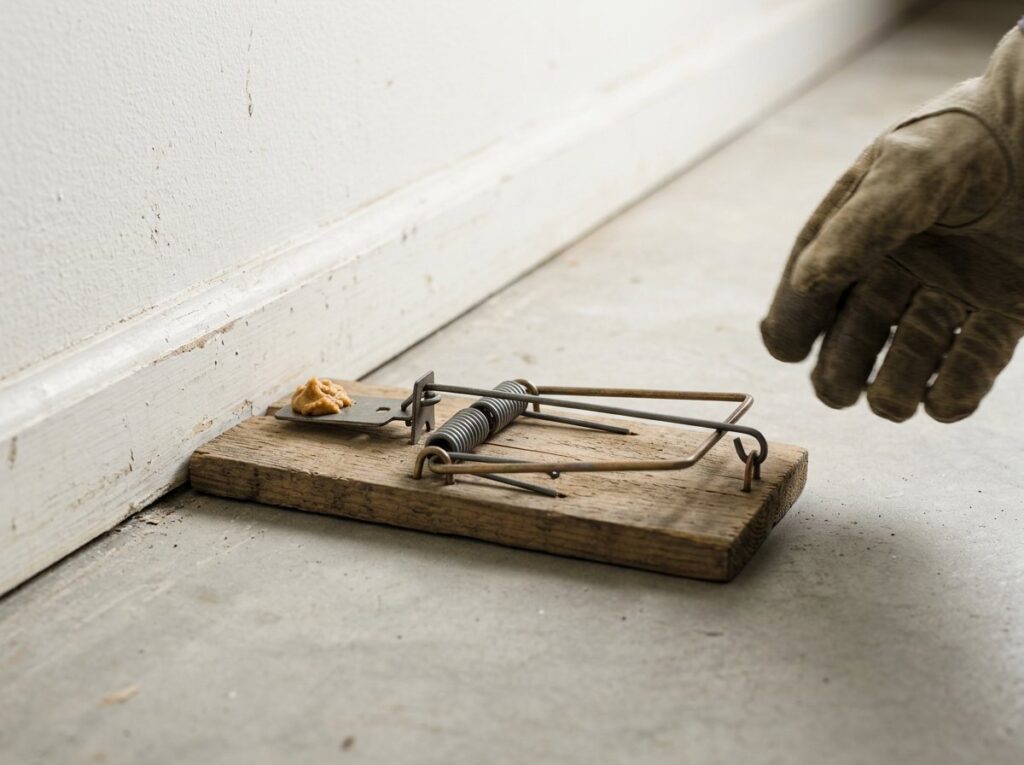
UC IPM describes snap traps as the safest, most effective and most economical way to control rats around a home. Use rat-size traps: a mouse trap often just injures a rat and makes it trap-shy.
Where and how to set snap traps
- Buy enough traps. Space them about 10 to 20 feet apart along routes with droppings and rub marks. A heavy infestation can need a dozen or more.
- Set them against walls. Place each trap at a right angle to the wall with the trigger end nearly touching it, or set a pair parallel to the wall with triggers facing opposite ways.
- Go high for roof rats. Add traps on shelves, ledges, beams and pipes, fastened with wire or a screw.
- Prebait first. Rats are wary of new objects, so leave traps baited but unset for a few nights until the bait is being taken.
- Use a small amount of bait. A pea-sized dab of peanut butter, nuts, dried fruit or bacon is enough.
- Set all traps the same night. Wear gloves, check them every morning and move traps that catch nothing.
- Keep going until the signs stop. Continue until a week passes with no catches, droppings or fresh gnawing.
Keeping traps safe around kids and pets
A rat trap can break a child’s finger or injure a pet. Put traps inside covered trap boxes, behind appliances, or in rooms children and pets can’t enter.
Glue traps, live traps and repellents
Glue boards kill slowly and inhumanely, and live traps just move the problem somewhere else. Scent repellents and ultrasonic devices are no substitute for sealing and trapping.
Rat poison: why it’s a last resort
Most baits take days to work, so a poisoned rat can die inside a wall and leave an odor for weeks. The bait is also made to taste good, which matters with young children or pets.
UC IPM notes that a single dead rat can contain several lethal doses of anticoagulant, so a dog, cat, owl or hawk that eats it can be poisoned too. That’s why the EPA restricts rodenticide products sold to homeowners: they must come in ready-to-use bait stations, loose pellets aren’t allowed, and the strongest second-generation anticoagulants are limited to professionals.
If you decide to use bait
- Read the label and follow it exactly. It’s a legal document that tells you where and how the product can be used.
- Use only tamper-resistant bait stations, placed where children and pets can’t reach or move them.
- Consumer products are labeled for indoor use or outdoors within 50 feet of a building. Never scatter bait.
- Seal entry points first so poisoned rats don’t come inside to die.
- Note where every station is and remove uneaten bait when the problem is over.
Safety note: If you think a child has swallowed rat poison, call Poison Help at 1-800-222-1222 right away, or 911 if they are drowsy, bleeding or struggling to breathe. If a pet may have eaten bait or a poisoned rat, call your vet immediately and keep the package to show them.
How to clean up rat droppings and nests safely
Rodent urine, droppings and nests can spread diseases, including hantavirus, mainly when you breathe in contaminated dust. The CDC’s rodent cleanup guidance says never to sweep or vacuum droppings. Follow these steps instead.
- Open doors and windows and leave the area for 30 minutes.
- Put on rubber or plastic gloves.
- Mix a fresh solution of 1.5 cups of bleach per gallon of water, or use an EPA-registered disinfectant. Never mix bleach with ammonia or other cleaners.
- Spray the droppings and nesting material until soaked, and wait 5 minutes or the time on the label.
- Wipe up with paper towels and put them in a covered trash can.
- Mop or wipe the area with disinfectant.
- Wash gloved hands before removing the gloves, then wash bare hands with soap and warm water.
For a dead rat, spray it with disinfectant, let it soak, then pick it up with a gloved hand or an inverted plastic bag. Double-bag it and put it in a covered outdoor trash can. Heavy contamination in an attic, crawl space or insulation is better left to a professional with proper protective gear.
Tools and materials
- Rat-size snap traps and covered trap boxes
- Bait such as peanut butter or nuts
- 1/2-inch galvanized hardware cloth and tin snips
- Sheet metal flashing, screws and washers
- Steel wool or copper mesh plus exterior sealant
- Mortar or concrete patch and metal-reinforced door sweeps
- Flashlight, rubber gloves, disinfectant, paper towels and heavy trash bags
When to call a pro
DIY works well for a few rats using gaps you can reach. Call a licensed pest control company if you notice any of these red flags:
- You see rats during the day, which often signals a large population.
- Activity continues after a couple of weeks of trapping and sealing.
- You hear rats in several rooms or inside walls you can’t access.
- Entry points are high on the roofline or hard to reach safely.
- You find gnawed wiring, which is a fire hazard and needs an electrician too.
- You smell a dead rat inside a wall or ceiling.
Based on Angi’s national cost data, a typical rat extermination job runs about $189 to $656, with an average around $396.
| Service | Typical cost | Notes |
|---|---|---|
| Inspection | $100 to $200 | Often credited if you hire the company |
| Rat removal | $189 to $656 | National average around $396 |
| Exclusion (sealing) | $200 to $600 | Often included in removal |
| Follow-up visits | $50 to $150 each | May be bundled into the quote |
| Cleanup and sanitation | Quoted separately | Depends on contamination |
Ask for a written plan covering inspection, exclusion, trapping or baiting and follow-ups. A good company focuses on sealing the house, not just leaving bait stations behind.
Frequently asked questions
Will rats go away on their own?
Rarely. As long as your home offers food, water and warm shelter, rats stay and breed. Sealing entry points and trapping are what actually end the problem.
How long does it take to get rid of rats?
A small problem can clear up within a few weeks once the house is sealed and traps are set correctly. Larger infestations or hard-to-reach entry points take longer and often need a pro.
Do peppermint oil or ultrasonic repellers keep rats away?
There’s little reliable evidence that either one solves a rat problem. Rats may avoid a strong smell for a while, but they return to a good food source. Spend that money on traps and hardware cloth instead.
Can rats climb walls and get into the attic?
Yes, especially roof rats. They climb rough walls, trees, vines and utility lines, then slip in at the roofline, soffits and vents. Trimming limbs and removing vines matters as much as sealing low gaps.
Is it dangerous to have rats in the house?
Yes. Rats contaminate food and surfaces, can spread disease, and chew wiring, insulation and pipes. Act promptly, and keep children and pets away from droppings until they’re cleaned up properly.
The bottom line
Getting rid of rats takes three jobs done together: seal every opening larger than 1/4 inch with metal or masonry, set plenty of rat-size snap traps along walls and up high, and remove the food and shelter that drew them in. Clean droppings with disinfectant rather than a broom, treat poison as a last resort and follow its label exactly, and call a pro if rats keep coming back.