Caulk looks simple until you try it. The bead comes out lumpy, smears across the tile, pulls away from the tub a month later, or turns black with mildew. Most of those problems come from three things: the wrong caulk for the job, old caulk that was not fully removed, and rushing the bead.
This guide shows you how to caulk the right way: how to choose between silicone, acrylic latex, siliconized acrylic and polyurethane, how to remove old caulk safely, how to cut the tip and handle the gun, how to tool a smooth bead, and how long to wait before water or paint touches it.
Quick answer: Choose silicone for tubs, showers and sinks, acrylic latex for interior trim you will paint, siliconized acrylic for general paintable work, and polyurethane for exterior concrete, masonry and siding gaps. Remove every trace of old caulk, clean and dry the joint, cut the tip at a 45 degree angle slightly smaller than the gap, run one steady bead, then smooth it with a damp finger or tool. Keep it dry for at least 24 hours, longer for polyurethane.
Choose the right caulk for the job
The label matters more than the brand. Match the caulk to how wet the area gets, how much the joint moves, and whether you plan to paint it.
Silicone
Silicone stays flexible, repels water and handles temperature swings, which is why it is the standard for tubs, showers, sinks and around glass. Traditional silicone cannot be painted, it needs solvent for cleanup, and new silicone will not bond well to old silicone residue. Choose a formula labeled for kitchen and bath, with mildew resistance.
Acrylic latex (painter’s caulk)
Acrylic latex is inexpensive, low-odor, easy to smooth and cleans up with water. It is ideal for filling gaps along interior trim, baseboards, crown molding and drywall seams before painting. It is less flexible and less water-resistant than silicone, so it is a poor choice for joints that get soaked.
Siliconized acrylic (silicone-latex blend)
These blends add silicone to acrylic latex for better adhesion and flexibility and less shrinkage, while staying paintable and water-cleanable. They are a good all-round choice for windows, doors, trim and siding, and many are rated for exterior use.
Exterior polyurethane
Polyurethane sealant is tough, very flexible and grips concrete, masonry, wood and metal, which makes it a strong choice for driveway and sidewalk joints, gaps where siding meets brick, and other exterior joints that move. It is sticky to work with, needs mineral spirits for cleanup, cures slowly, and should not be applied in freezing weather.
| Caulk type | Best for | Paintable | Cleanup | Watch out for |
|---|---|---|---|---|
| 100% silicone | Tubs, showers, sinks, backsplashes, glass | Usually no | Solvent or alcohol | Will not bond to old silicone residue |
| Acrylic latex | Interior trim, baseboards, drywall gaps | Yes | Water | Can shrink and crack in wet or moving joints |
| Siliconized acrylic | Windows, doors, trim, general interior and exterior | Yes | Water | Less durable than silicone in constant water |
| Polyurethane | Concrete, masonry, siding, exterior gaps that move | Yes, after full cure | Mineral spirits | Slow cure; avoid freezing temperatures |
For tile joints 1/8 inch or wider next to sanded grout, look for sanded caulk so the texture matches. For very large or deep gaps, press in foam backer rod first so the caulk does not have to fill the whole cavity.
Tools and materials
- Caulk suited to the job, plus a drip-free caulk gun
- Utility knife with fresh blades, or a plastic caulk removal tool
- Plastic razor blades for acrylic or fiberglass tubs
- Rubbing alcohol (isopropyl) and clean, lint-free rags
- Mildew remover for bathrooms
- Painter’s tape
- Caulk smoothing tool, or a damp sponge for finger tooling
- Foam backer rod for wide gaps
- Nitrile gloves and safety glasses
- Paper towels and a small trash bag for wiping excess
Safety note: Open a window or run the exhaust fan, because many silicone and polyurethane products release strong vapors while they cure. Wear gloves for polyurethane, which is hard to get off skin. Always cut away from your body with a utility knife. For exterior work above the ground floor, follow our ladder safety tips, and if your home was built before 1978, test old painted trim for lead before scraping it.
Remove the old caulk completely
New caulk applied over old, cracked or moldy caulk will fail quickly. Taking out the old bead is the most tedious step, and the one that matters most.
- Identify what is there. Press the old caulk with a fingernail or knife. Soft and rubbery usually means silicone; hard and brittle usually means latex.
- Cut both edges. Slice along the top and bottom edges of the bead with a utility knife or caulk removal tool. On acrylic or fiberglass tubs, use a plastic blade to avoid scratches.
- Pull and scrape. Grab the loose end with pliers and peel it out. Scrape remaining bits with a plastic scraper. Hard latex softens if you warm it gently with a hair dryer on a low setting, kept moving.
- Remove residue. Silicone leaves a thin film that new caulk will not stick to. Scrub it with rubbing alcohol or a caulk remover product until the surface no longer feels slick.
- Treat mildew. Apply a mildew remover to any dark staining, rinse, and let it dry. Our guide to getting rid of bathroom mold covers stubborn growth.
- Clean and dry. Wipe the joint with alcohol and let it dry completely. In a shower, wait overnight if you can so no moisture is trapped behind the new bead.
How to caulk, step by step
1. Prep the joint and tape it (optional)
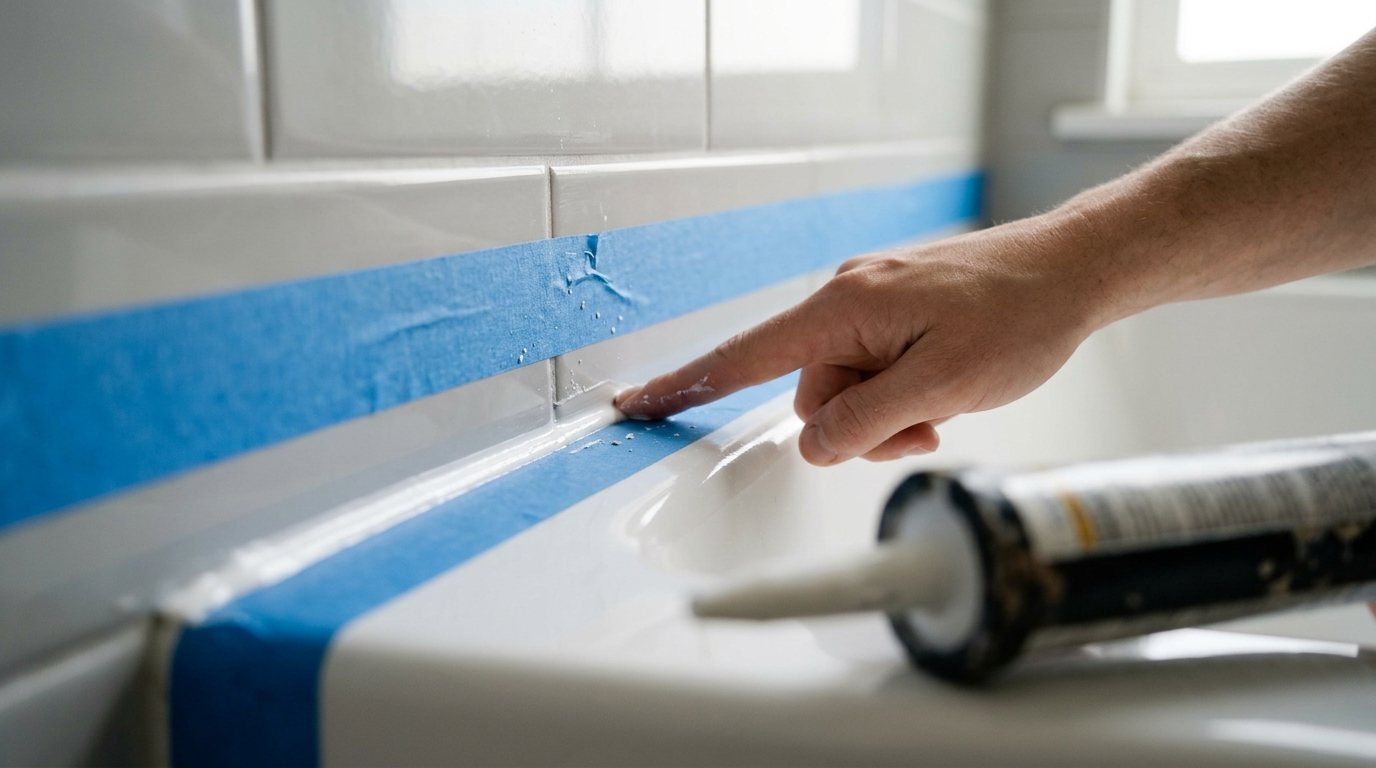
For crisp lines, run painter’s tape on both sides of the joint, leaving a gap just wider than the bead you want. On a bathtub, fill the tub with water before caulking so it settles to its heaviest position; otherwise the bead can tear the first time someone steps in.
2. Cut the tip
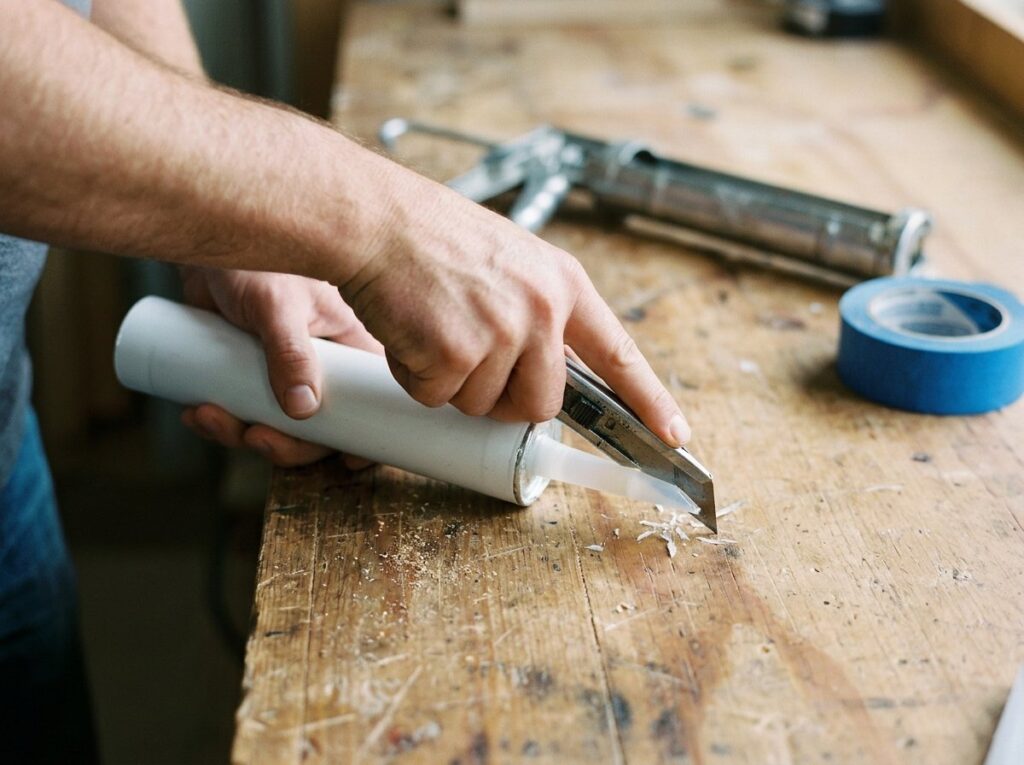
Cut the nozzle at a 45 degree angle, starting near the tip so the opening is slightly smaller than the gap you are filling. You can always cut more off, but you cannot make the hole smaller. Puncture the inner foil seal with the gun’s poker wire or a long nail.
3. Load the gun and prime
Pull back the plunger rod, drop in the tube and push the rod forward until it meets the tube. Squeeze gently over a paper towel until caulk appears at the tip.
4. Run the bead
Hold the gun at roughly a 45 degree angle to the joint with the angled tip flat against the surface. Squeeze steadily and move at an even pace so the bead fills the gap and touches both sides. Pushing the bead ahead of the nozzle forces caulk deeper into the joint, while pulling the gun toward you is easier to control; either works if the pace is steady. Do vertical seams first, then horizontal ones, working in sections of a few feet.
5. Stop cleanly
At the end of each run, press the gun’s release so pressure drops and caulk stops oozing. Lift the tip away with a slight twist and wipe it on a paper towel.
6. Tool the bead
Within a minute or two, before a skin forms, smooth the bead with a caulk tool or a fingertip. Dampen your finger with water for latex, or with lightly soapy water for silicone, and draw it along the joint in one continuous pass, pressing just enough to push caulk into the gap and shape a slight concave curve. Wipe the excess off your finger or tool often.
7. Pull the tape
Remove tape right away while the caulk is still wet, pulling it slowly away from the joint at a low angle. If you wait until the caulk skins over, the edge will tear.
Pro tip: Practice a few beads on a piece of cardboard before you start on the tub. It takes only minutes to find the right squeeze pressure and hand speed, and it saves you from scraping out a messy first attempt.
Cure times: how long before water and paint
Dry to the touch is not the same as cured. Caulk forms a skin quickly but needs much longer to reach full strength and water resistance. According to Bob Vila’s caulk drying guide, these are typical ranges, and the product label always wins.
| Caulk type | Dry to touch | Typical full cure | Water or paint |
|---|---|---|---|
| Silicone | About 30 minutes | 24 hours to several days, depending on formula | Keep water off at least 24 hours; usually not paintable |
| Acrylic latex and siliconized acrylic | About 30 minutes | 24 hours to several days, longer when cool or humid | Wait 24 hours before water; paint once cured |
| Polyurethane | Varies by product | Up to about 10 days | Keep water off 3 days to a week; paint after 7 to 10 days |
Fast-drying formulas shorten these times, and some can be painted in about an hour, so read the tube. Temperature and humidity also change cure times. Most caulks apply best between about 40 and 80°F. Latex dries as water evaporates, so a fan helps, while silicone and polyurethane need moisture from the air to cure and slow down in cold, dry winter air. Do not use a heat gun to speed things up.
Common caulking mistakes
- Caulking over old caulk or mildew. The new bead peels and the mold keeps growing underneath.
- Applying to a damp joint. Trapped moisture breaks the bond and feeds mildew.
- Too large an opening. A big tip floods the joint and makes a smeared, wide bead.
- Overworking the bead. Going back over caulk after it starts to skin creates drag marks.
- Using painter’s caulk in a shower. Plain acrylic latex cannot handle constant water.
- Painting too soon. Paint over uncured caulk can crack or stay tacky. Our guide to painting trim and baseboards covers the order of caulking and painting.
When to call a pro
Caulking is one of the most DIY-friendly jobs in the house, but a pro makes sense when:
- The caulk keeps failing because the tub, shower pan or tile is moving, which can mean a structural or subfloor problem.
- You find soft drywall, loose tile, rot or water stains behind old caulk, signs of a leak that caulk will not fix.
- The job requires working on a tall ladder, a roof or second-story windows.
- Old exterior trim may have lead paint and needs scraping.
According to Angi’s caulking cost guide, hiring a pro typically costs $105 to $290, with an average around $200. Pros charge about $1.25 to $4 per linear foot, recaulking a bathtub or shower runs about $65 to $300, and windows cost about $50 to $70 each. Doing it yourself costs only pennies per foot plus $10 to $30 in supplies.
Frequently asked questions
Can you put new caulk over old caulk?
It is not a good idea. New caulk bonds poorly to old caulk, especially silicone, and any mildew underneath keeps growing. Remove the old bead completely, clean off the residue with rubbing alcohol, and let the joint dry before recaulking.
Should you push or pull a caulk gun?
Both work. Pushing drives caulk deeper into the joint and is common among pros, while pulling is easier for beginners to keep straight. What matters most is a steady squeeze, an even pace and tooling the bead right after you apply it.
How long after caulking can I shower?
For most silicone and kitchen and bath caulks, wait at least 24 hours before the area gets wet. Some fast-cure products allow water sooner, so check the label. Showering too early can wash out or weaken the bead before it cures.
Can you paint over silicone caulk?
Standard 100% silicone does not hold paint; it beads up and peels. If you plan to paint, use acrylic latex, siliconized acrylic or a product labeled paintable, and let it cure fully before painting.
Why does my new caulk keep cracking or pulling away?
Common causes are old caulk residue, a damp or dirty joint, a bead too thin to bridge the gap, or a rigid caulk in a joint that moves. Recaulk with a more flexible product, such as silicone or polyurethane, and use backer rod in wide gaps.
The bottom line
Good caulking is mostly preparation and the right product: silicone for wet areas, acrylic latex or siliconized acrylic for paintable trim, and polyurethane for exterior joints that move. Remove the old bead and residue, start with a small tip opening, run one steady bead, tool it right away and give it time to cure. For a step-by-step walkthrough of the most common job, see our guide on how to recaulk a bathtub.