Your hardwood floors look tired: gray traffic lanes in the hallway, scratches by the back door and a finish that no longer shines no matter how often you clean. The good news is that solid hardwood can be renewed many times, and sometimes you do not even need to sand down to bare wood to get it looking good again.
This guide helps you decide between a light screen and recoat and a full sand and refinish, compares DIY and professional costs, explains oil-based versus water-based polyurethane, and walks through the full process with a focus on dust control and safety, including lead precautions for older homes.
Quick answer: If the finish is worn but the wood itself is not scratched, stained or bare, a screen and recoat (light abrading plus fresh coats) is faster and cheaper. If wear reaches bare or gray wood, or you want to change the color, sand to bare wood and refinish. Pros typically charge about $3 to $8 per square foot for a full refinish, while a DIY job usually costs a few hundred to about $1,000 in rentals and materials.
Screen and recoat or full refinish?
When a screen and recoat is enough
A screen and recoat uses a floor buffer with a fine abrasive screen to dull and smooth the existing finish, then adds one or two new coats of polyurethane. It removes light surface scratches and restores sheen without touching the wood. It works only when the old finish is intact everywhere and has not been coated with wax or silicone polish, which stop new finish from bonding.
When you need a full sand and refinish
Sand to bare wood when traffic lanes have worn through to raw or gray wood, when scratches and dents go into the wood, when there are dark water or pet stains, or when you want a new stain color. A full refinish removes a thin layer of wood each time, so solid floors can only be done a limited number of times over their life, and engineered floors far fewer.
| Option | Fixes | Typical pro cost | Time |
|---|---|---|---|
| Screen and recoat | Dull finish, fine scratches, light wear | About $1 to $2.50 per sq ft | 1 to 2 days |
| Full sand and refinish | Deep scratches, bare wood, stains, color change | About $3 to $8 per sq ft | About 3 to 5 days for 1,000 sq ft |
| Dust-contained full refinish | Same as full refinish, less airborne dust | About $5 to $8 per sq ft | Similar to full refinish |
| DIY full refinish | Same as full refinish | About $500 to $1,000 in rentals and materials | Several days plus learning time |
Costs come from This Old House’s refinishing cost guide and Bob Vila’s cost guide; the 3 to 5 day timeline is NerdWallet’s estimate for a 1,000 square foot job.
Can you refinish hardwood floors yourself?
Yes, but be honest about the learning curve. A drum sander removes wood fast and can leave dips, chatter marks or gouges in seconds if you pause or lower it unevenly. An orbital floor sander is much more forgiving for beginners, though slower. Edges, corners and stairs need a separate edger or hand sanding, and that is where many DIY floors show visible swirl marks.
This Old House lists typical rental rates of about $50 to $80 per day for a drum sander and $35 to $45 per day for an edger, plus sandpaper, finish, applicators and safety gear. DIY makes the most sense for a single room with simple layout and solid hardwood. For whole-house projects, engineered floors, parquet or stairs, many homeowners find a pro’s speed and equipment worth the cost.
Before you start: check your floor
Is there enough wood left to sand?
Pull a floor vent register and look at the edge of a board. Solid hardwood is usually 3/4 inch thick with plenty of wood above the tongue. Engineered hardwood has a thin real-wood layer over plywood; if that layer is very thin, sanding can break through, and a screen and recoat may be the only safe option.
Is the old finish polyurethane or wax?
Older floors may have a wax finish, which must be fully removed before polyurethane will stick. Put a few drops of water in a hidden spot; if they leave white marks after several minutes, or if a scrape with a coin lifts a gummy smudge, assume wax and plan on a full sand.
Could the old finish contain lead?
Homes built before 1978 may have lead in old paints and some finishes, and floors near painted trim and stair risers often carry old paint drips. The EPA warns that renovation in pre-1978 homes “can easily create dangerous lead dust” and recommends hiring a lead-safe certified contractor. Test before sanding.
Safety note: If a lead test is positive or you cannot test, do not dry sand the floor yourself. Hire an EPA lead-safe certified firm, keep children and pregnant family members out of the home during the work, and never use a household vacuum to clean up the dust. Sanding dust and finish fumes are also irritants, so wear a properly fitted respirator and eye and hearing protection, and lay rags soaked in oil-based finish flat outdoors to dry, because they can catch fire if bunched up.
Tools and materials
- Drum or orbital floor sander and an edger (rented)
- Sandpaper in coarse, medium and fine grits for each machine
- Detail sander or hand scraper for corners
- Shop vacuum with a fine dust filter, tack cloths or microfiber pads
- Plastic sheeting, painter’s tape and a box fan for ventilation
- Nail set and hammer
- Wood filler matched to the floor
- Stain (optional), polyurethane or other floor finish
- Applicator pad or roller rated for your finish, brush for edges, extension pole
- Buffer with a fine screen for between coats
- Respirator, safety glasses, hearing protection and knee pads
How to refinish hardwood floors step by step
1. Empty the room and contain the dust
Remove all furniture, rugs and curtains, and take off shoe molding or quarter round. Seal doorways, return air vents and outlets with plastic and tape, and turn off the furnace or air conditioning so the system does not pull dust through the house. Set every nail head below the surface so it cannot tear the sandpaper.
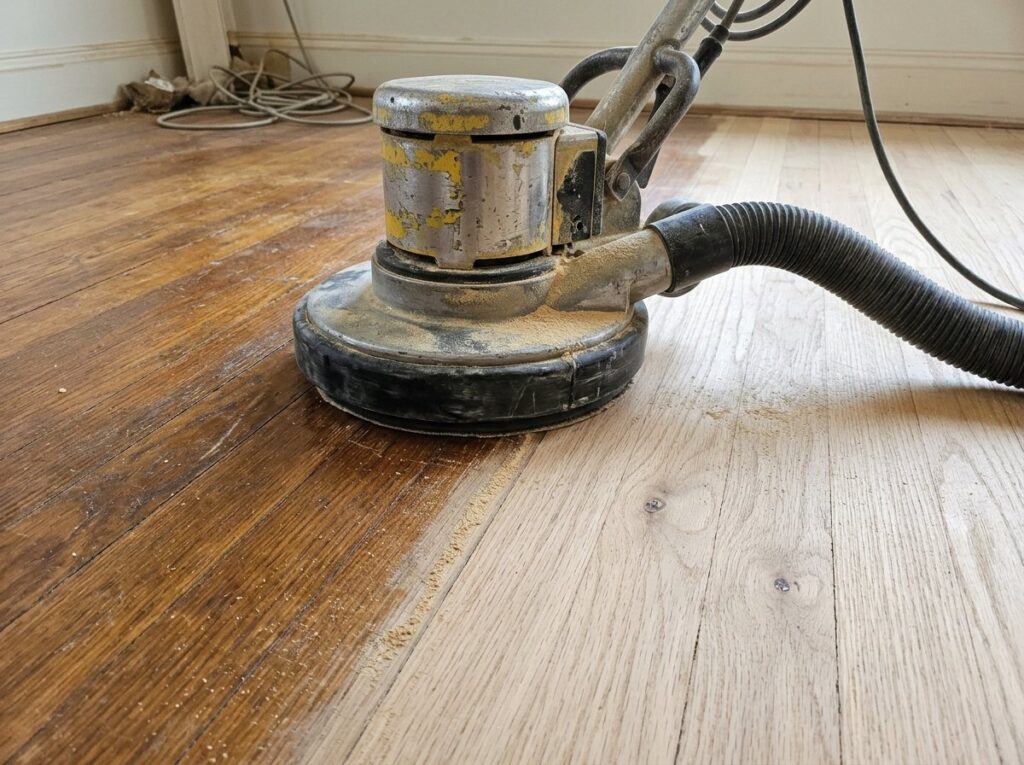
2. Sand the main floor
- Start with the coarsest grit needed to remove the old finish; do not go coarser than necessary.
- Sand with the grain, keeping the machine moving. Lower and raise a drum sander only while walking.
- Overlap each pass by a few inches and work across the whole room.
- Vacuum, then repeat with medium and fine grits. Do not skip more than one grit, or deep scratches from the earlier paper will show through the finish.
3. Sand edges and corners
Use the edger with the same grit sequence along walls, then scrape or hand sand corners and spots the machines cannot reach. Blend the edge and field areas carefully so the transition is not visible under finish.
4. Fill, clean and inspect
Fill small holes and gaps with wood filler, let it dry and sand it flush with your final grit. Vacuum the floor, walls and windowsills, then wipe the floor with a tack cloth or a microfiber pad dampened as the finish maker recommends. Inspect the floor at a low angle with a work light; sanding marks are much easier to fix now than after stain.
5. Stain if you want a new color
Test stain on a sanded spot inside a closet first, because the same stain looks different on different species and sanding grits. Apply with the grain, wipe off the excess and let it dry fully according to the label before any finish goes on.
6. Apply the finish
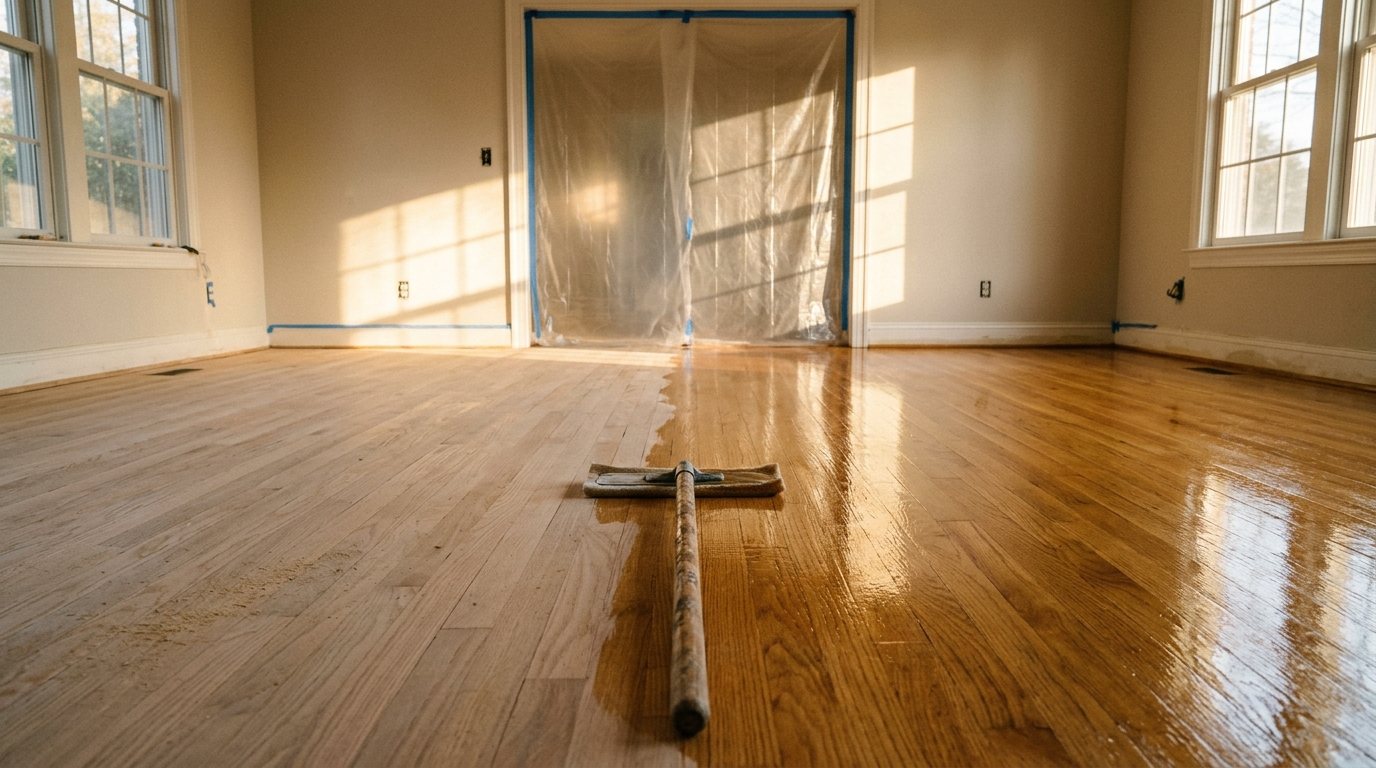
Cut in along the walls with a brush, then apply thin, even coats with an applicator pad, working with the grain and keeping a wet edge. Most finishes need two to four coats depending on type. Lightly buff with a fine screen or abrasive pad between coats once the previous coat is dry, vacuum, and tack before the next coat.
7. Let it cure
Dry and cure are not the same thing. A floor may be dry enough for socks within a day, but finishes keep hardening for days or weeks. Follow the label for when you can return furniture (lift it, never slide it) and when you can put rugs back down.
Oil-based vs water-based polyurethane
| Feature | Oil-based poly | Water-based poly |
|---|---|---|
| Look | Warm amber tone that deepens over time | Stays clear; keeps light woods light |
| Dry time | Slow, often about a day between coats | Fast, often several coats in one day |
| Odor | Strong solvent smell; plan to leave the house | Much lower odor |
| Coats usually needed | Fewer, thicker coats | More, thinner coats |
| DIY friendliness | Self-levels well; longer working time | Dries fast, so lap marks are easier to make |
| Material cost | About $20 to $45 per gallon | About $25 to $55 per gallon |
Material prices are from Bob Vila’s refinishing cost guide. Hardwax oils and other penetrating finishes give a matte, natural look and are easy to spot repair, but they need periodic maintenance coats and cost more per gallon. Whatever you choose, use one system from start to finish and do not mix brands between coats unless the maker says it is compatible.
When to call a pro
- The house was built before 1978 and you have not ruled out lead
- The floor is engineered and you cannot confirm the wear layer thickness
- Boards are cupped, crowned, loose or water damaged
- The job includes stairs, parquet, inlays or exotic species
- You need the whole main floor done quickly and want dust-contained sanding
As noted above, full professional refinishing typically runs about $3 to $8 per square foot, and recoating about $1 to $2. This Old House puts repair of deep scratches, gouges and loose boards at about $6 to $12 per square foot on top of that. If boards also have seasonal gaps, read our guide to gaps in hardwood floors in winter before filling anything, and for spot damage see how to fix scratches in hardwood floors.
Frequently asked questions
How long do you have to stay off hardwood floors after refinishing?
It depends on the finish. Many water-based finishes allow sock traffic within a day, while oil-based finishes often need longer. Furniture and rugs usually have to wait several days to a few weeks, so check the label for exact times.
How many times can hardwood floors be refinished?
Solid 3/4-inch hardwood can usually be sanded many times over its life, because each careful sanding removes only a small amount of wood. Engineered hardwood may allow only one to three sandings, or none if the top layer is thin. A screen and recoat removes no wood, so doing that every few years can delay a full refinish.
Is a drum sander or orbital sander better for beginners?
An orbital floor sander is safer for beginners because it is far less likely to gouge the floor. It is slower, especially on thick old finishes. A drum sander is faster but takes practice to avoid dips and chatter marks.
Can you refinish hardwood floors without sanding?
You can renew the finish without sanding to bare wood using a screen and recoat, or a chemical abrasion recoat system. These work only if the old finish is intact and free of wax or polish residue. They do not remove deep scratches, stains or bare spots.
Do I need to move out while floors are refinished?
For oil-based finishes, most families stay elsewhere for a few days because of the fumes. With water-based finishes, you can often stay home if you can avoid the work area and ventilate well. If there is any chance of lead dust, plan to be out until cleanup is complete.
The bottom line
Choose a screen and recoat when only the finish is worn, and a full sand when damage reaches the wood or you want a new color. Check for lead in pre-1978 homes, confirm there is enough wood to sand, contain the dust, and use one finish system from start to finish. If any of that sounds daunting, a professional refinish at about $3 to $8 per square foot buys speed, better equipment and a smoother result.