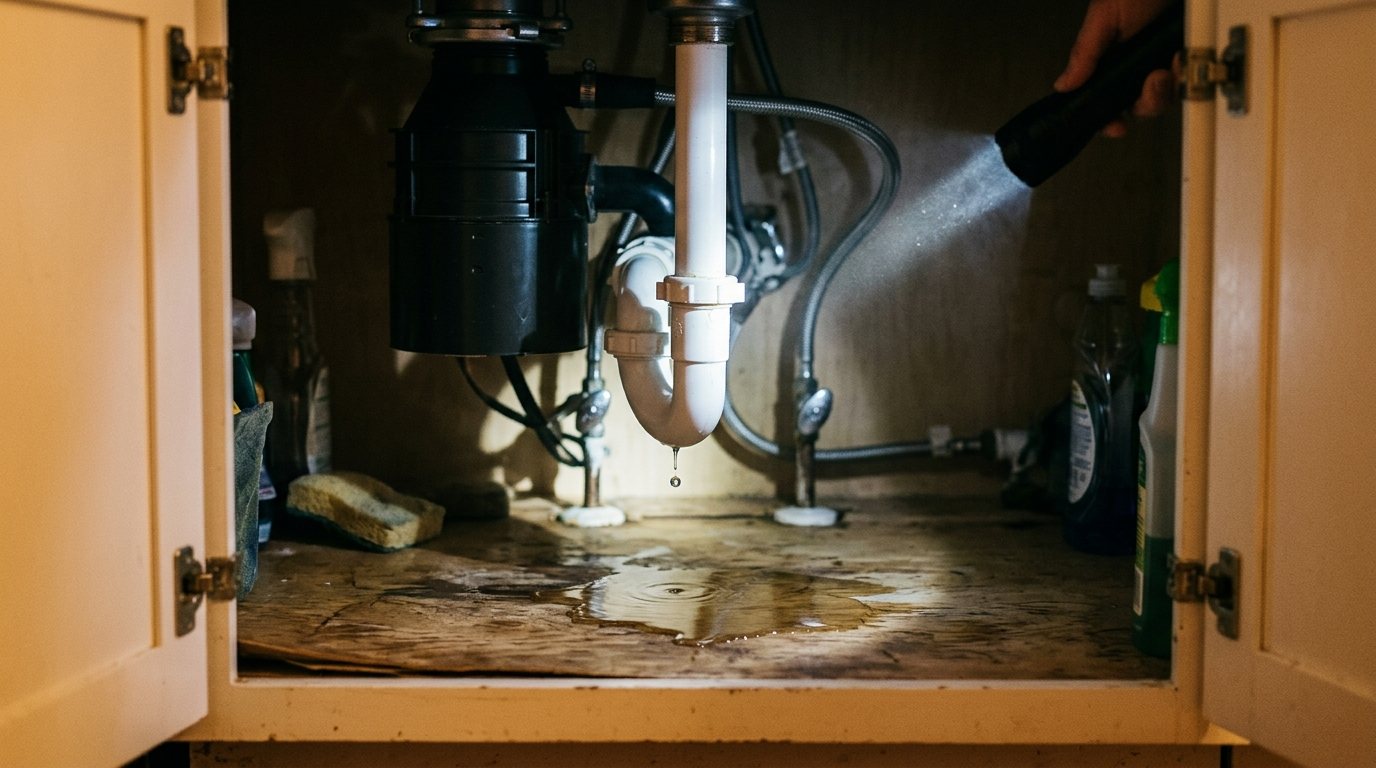
You reach under the kitchen sink for a trash bag and find a wet cabinet floor, a puddle in the corner or a box of dish soap that’s turned to mush. A leak under the kitchen sink is common, but the cabinet hides so many pipes and hoses that finding the exact source can feel like guesswork.
The good news is that most of these leaks come from a loose nut, a worn washer or a failed seal, and you can fix them with basic tools. This guide shows you how to pinpoint the source step by step, how to fix supply lines, the faucet base, sprayer hose, P-trap, basket strainer, dishwasher hose and garbage disposal, and how to dry the cabinet and check for water damage or mold.
Quick answer: Empty the cabinet, dry every pipe and surface, and lay paper towels on the cabinet floor. Then test one system at a time: supply lines with the faucet off, the faucet with water running, the drain with a full sink of water, and the dishwasher and disposal last. Once you see where the first drip forms, tighten or reseal that connection, or replace the worn part.
How to find the exact source of the leak
Water runs along pipes before it drips, so the puddle is often nowhere near the leak. A methodical test is faster than tightening everything and hoping.
- Take everything out of the cabinet and set it aside to dry. Put on a headlamp or use a flashlight.
- Dry every pipe, hose and fitting completely with a towel.
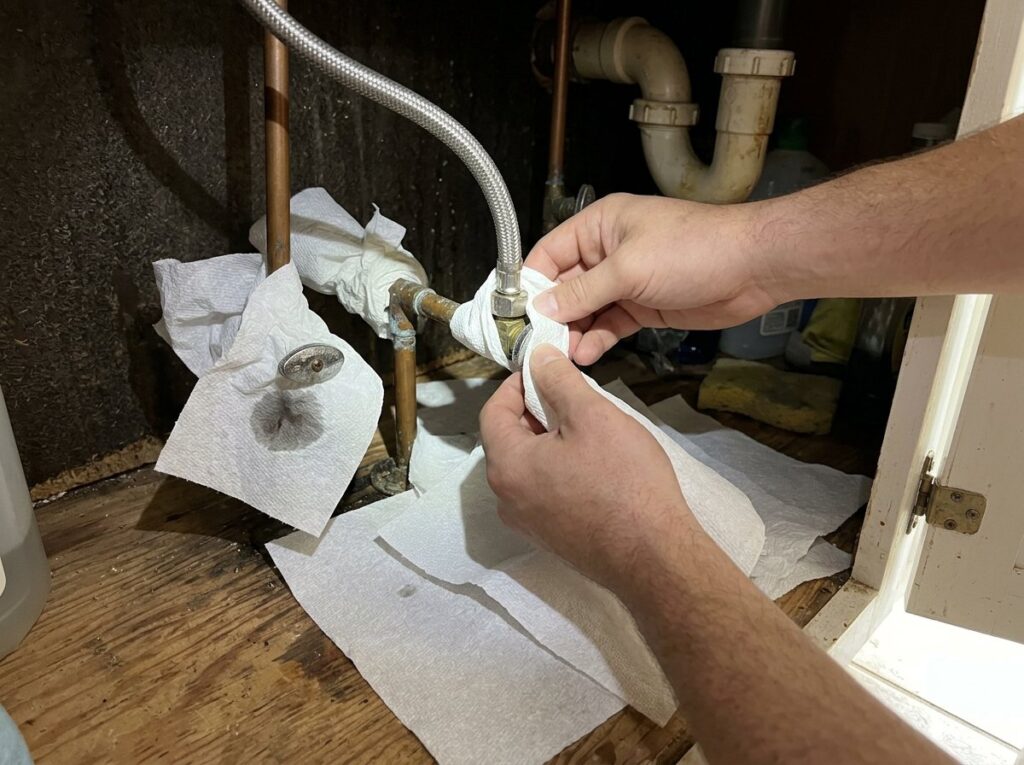
- Lay dry paper towels on the cabinet floor and wrap a strip of paper towel around each connection. Wet spots will show you exactly where water is coming from.
- Test the supply side: with the faucet off, wait 10 to 15 minutes. Supply lines and shutoff valves are always under pressure, so drips now point to them.
- Test the faucet: run hot and cold water for a minute, and use the sprayer. Check the faucet base, the sprayer hose and the area under the deck.
- Test the drain: plug the sink, fill it with a few inches of water, then pull the plug. A full sink puts more water through the drain than a running tap. Watch the strainer, tailpiece and P-trap.
- Test the appliances: run the disposal with water, then start a dishwasher cycle and check the hose connection during draining.
| When it leaks | Where you see water | Likely source | Typical fix |
|---|---|---|---|
| All the time, even with faucet off | At valves or the ends of supply lines | Supply line nut, worn supply line, shutoff valve packing | Snug the nut, replace the line, tighten the packing nut |
| Only when the faucet runs | Under the deck, around the faucet base | Faucet O-rings, deck gasket, sprayer hose | Replace O-rings or hose, reseal the base |
| When the sink drains | Around the strainer underside | Basket strainer putty or locknut | Reset the strainer with fresh putty |
| When the sink drains | At slip nuts on the curved trap | Loose slip nut or worn washer on the P-trap | Snug the nut or replace the washer |
| During a dishwasher cycle | At the disposal side or drain tailpiece | Loose hose clamp, cracked hose | Tighten the clamp, replace the hose |
| When the disposal runs | Top, side or bottom of the disposal | Sink flange, discharge gasket, cracked housing | Reseal, replace gasket, or replace the unit |
Tools and materials
- Flashlight or headlamp
- Paper towels, old towels and a bucket
- Adjustable wrenches (two) and groove-joint pliers
- Basin wrench for faucet nuts behind the sink
- Screwdriver for hose clamps
- Plumber’s putty or the sealant your sink manufacturer recommends
- Replacement slip-joint washers, braided supply lines, O-rings or a sprayer hose as needed
- Fan, and a moisture meter if you have one
Safety note: Unplug the garbage disposal or switch off its circuit before you reach near it or loosen any of its connections. If the cabinet floor is soaked near an outlet or the disposal’s wiring, turn off the power to that circuit before you start cleaning up.
How to fix each type of leak
Supply lines and shutoff valves
These carry pressurized water to the faucet, so even a small drip is constant. If water beads at a nut, snug it a quarter turn with a wrench while holding the valve body steady with a second wrench. Don’t overtighten, since that can crack the fitting.
If the line is kinked, bulging, rusty or more than a few years old, shut off the valve and replace it with a new braided stainless line of the right length. If water seeps from around the valve handle stem, a slight tightening of the small packing nut behind the handle often stops it. A valve that leaks from its body or won’t shut off needs replacing.
Faucet base and under the deck
Water that appears only when the faucet runs often comes from worn O-rings in the spout or cartridge, which let water seep down through the faucet body. Rebuilding the faucet usually fixes this, and our guide on how to fix a leaky faucet covers each faucet type.
Also check the top of the sink. Water splashing around a faucet base with a worn gasket or failed caulk can run underneath and drip into the cabinet. Tighten the faucet’s mounting nut from below with a basin wrench, and reseal the base if needed. If the faucet is old and leaking from several places, replacing it may be easier; see our guide on how to replace a kitchen faucet.
Pull-down or side sprayer hose
Sprayer hoses flex every time you use them, and they eventually crack or wear through, especially where they rub against the cabinet or a pipe. Run the sprayer and feel along the hose for wetness. Check the quick-connect fitting where the hose meets the faucet supply, and reseat it until it clicks.
A cracked hose needs replacing with an exact match for your faucet. ConsumerAffairs lists pull-out hoses at about $15 to $50.
P-trap and drain pipes
The P-trap is the curved section of drain pipe that holds water to block sewer gas. Its slip nuts use plastic or rubber washers that can loosen or wear out.
- Place a bucket under the trap.
- Hand-tighten each slip nut, then add about a quarter turn with groove-joint pliers. Plastic nuts crack if you overtighten them.
- If it still drips, unscrew the nuts, remove the trap, and check the washers. Replace any that are flattened, cracked or missing, making sure the beveled side faces the joint.
- While it’s off, clean out any debris, then reassemble and test with a full sink of water.
Replace a trap with cracks or heavy corrosion. Metal traps can rust through from the inside, even when the outside looks fine.
Basket strainer
The basket strainer is the drain fitting in the bottom of the sink bowl. When its seal of plumber’s putty dries out or the large locknut underneath loosens, water seeps around it every time the sink drains.
- Disconnect the tailpiece below the strainer and unscrew the large locknut with groove-joint pliers or a spud wrench.
- Push the strainer up and out of the sink, then scrape off all the old putty from the strainer and the sink opening.
- Roll a rope of fresh plumber’s putty and press it under the strainer’s lip. Check your sink manufacturer’s guidance first, since some stone and composite sinks call for silicone instead because putty can stain them.
- Press the strainer into the opening, then install the rubber gasket, friction ring and locknut from below and tighten firmly while someone holds the strainer from above.
- Wipe away the squeezed-out putty, reconnect the tailpiece and test with a full sink.
Dishwasher drain hose
The dishwasher’s drain hose usually connects to the disposal inlet or a branch on the sink tailpiece with a hose clamp. Check the clamp during a dishwasher drain cycle, and tighten it if it’s loose. Replace a hose that’s cracked, brittle or kinked.
If water spills from the air gap on the countertop, the hose or air gap is clogged. Clearing it often fixes both the leak and slow draining, and our guide to a dishwasher that’s not draining walks through it.
Garbage disposal
Where the water comes from on a disposal tells you the fix. A leak at the top usually means the sink flange seal has failed and needs fresh putty. A leak at the side is often the dishwasher hose connection or the discharge tube gasket, which you can tighten or replace. A leak from the bottom or the housing usually means the unit has corroded internally, and it needs replacing.
Drying the cabinet and checking for water damage
Once the leak is fixed, drying out the cabinet quickly matters as much as the repair. The EPA advises drying water-damaged areas and items within 24 to 48 hours to prevent mold growth.
- Leave the cabinet empty and the doors open. Point a fan into the cabinet and run it until everything is fully dry, which may take a day or more.
- Press on the cabinet floor. Particleboard that has swollen, softened or started to flake won’t recover and should be replaced or covered with a new cut-to-fit panel.
- Look for dark stains, warped edges, peeling laminate and a musty smell, all signs of long-term moisture.
- Check the floor in front of the cabinet and the wall behind it for staining or soft spots.
- Look for fuzzy or spotted growth on wood, drywall or the back of the cabinet.
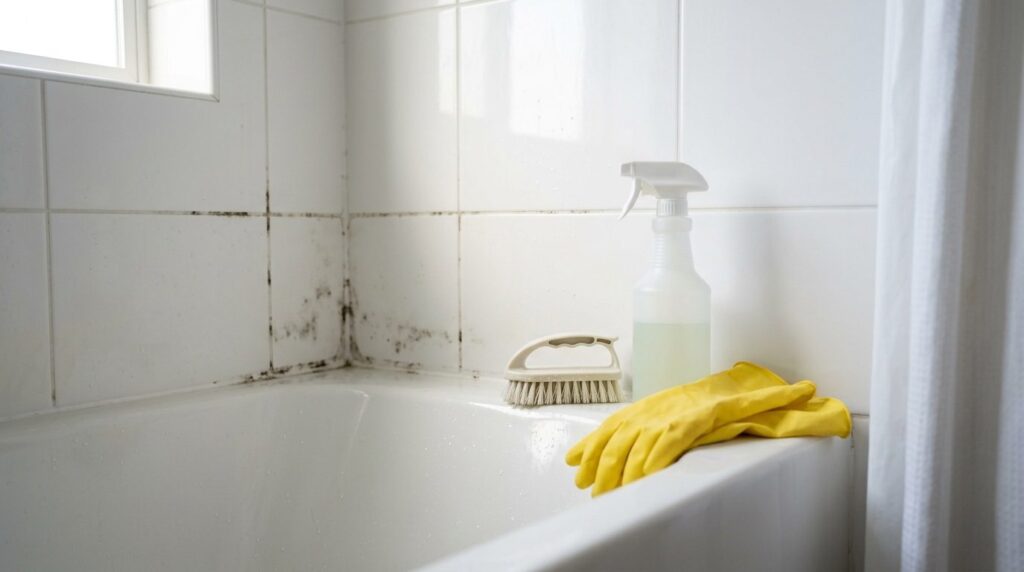
The EPA says most people can clean up a moldy area smaller than about 10 square feet themselves. For small spots, our guide on how to get rid of bathroom mold covers safe cleaning methods that also apply under a kitchen sink.
Pro tip: Once it’s dry, put a waterproof cabinet liner or tray on the cabinet floor and a battery-powered water leak alarm in the back corner. A future drip will show up in hours instead of weeks.
When to call a pro
Many under-sink leaks are quick DIY fixes, but call a licensed plumber if you notice any of these:
- Water is coming from the wall behind the cabinet or from a pipe you can’t see.
- A shutoff valve is corroded, won’t close or leaks from its body.
- You’ve tested every connection and still can’t find the source.
- The floor under or in front of the cabinet is soft, stained or spongy.
- Mold covers more than about 10 square feet, or you smell it but can’t see it.
According to HomeAdvisor, a plumbing service call typically costs $100 to $350 and usually includes the first hour of work, which covers most under-sink leak repairs. Hidden leaks inside a wall or floor cost more because of access and drywall or cabinet repair.
Frequently asked questions
Why is there water under my sink but no visible leak?
The leak may only happen during certain uses, like draining a full sink or running the dishwasher. Water splashing around the faucet base can also seep through the deck. Use the paper towel test on each connection while you run each system one at a time.
Should I use plumber’s tape on supply line connections?
Most supply line connections seal with a built-in rubber washer or a compression fitting, not threads, so tape doesn’t help and can cause leaks. Thread tape is meant for tapered threaded pipe joints. Slip nuts on the drain rely on washers, not tape.
Can a slow leak under the sink cause mold?
Yes. A cabinet that stays damp gives mold the moisture it needs, which is why the EPA recommends drying wet areas within 24 to 48 hours. Particleboard cabinets also absorb water and swell, so slow leaks often cause hidden damage.
How tight should P-trap slip nuts be?
Hand-tight plus about a quarter turn with pliers is usually enough. Overtightening can crack plastic nuts or distort the washer, which causes the leak you were trying to stop.
Is a leak under the kitchen sink an emergency?
A slow drain leak usually isn’t. Put a bucket under it and avoid using the sink until it’s fixed. A steady leak from a supply line or valve is more urgent, so shut off the valve under the sink, or the main water supply, right away.
The bottom line
Most kitchen sink leaks come from a loose nut, a worn washer, a failed seal or a cracked hose. Dry everything, test supply, faucet, drain and appliances one at a time, and fix the first connection that gets wet. Then dry the cabinet fully within a day or two and check for swelling or mold, so a small drip doesn’t turn into a bigger repair.