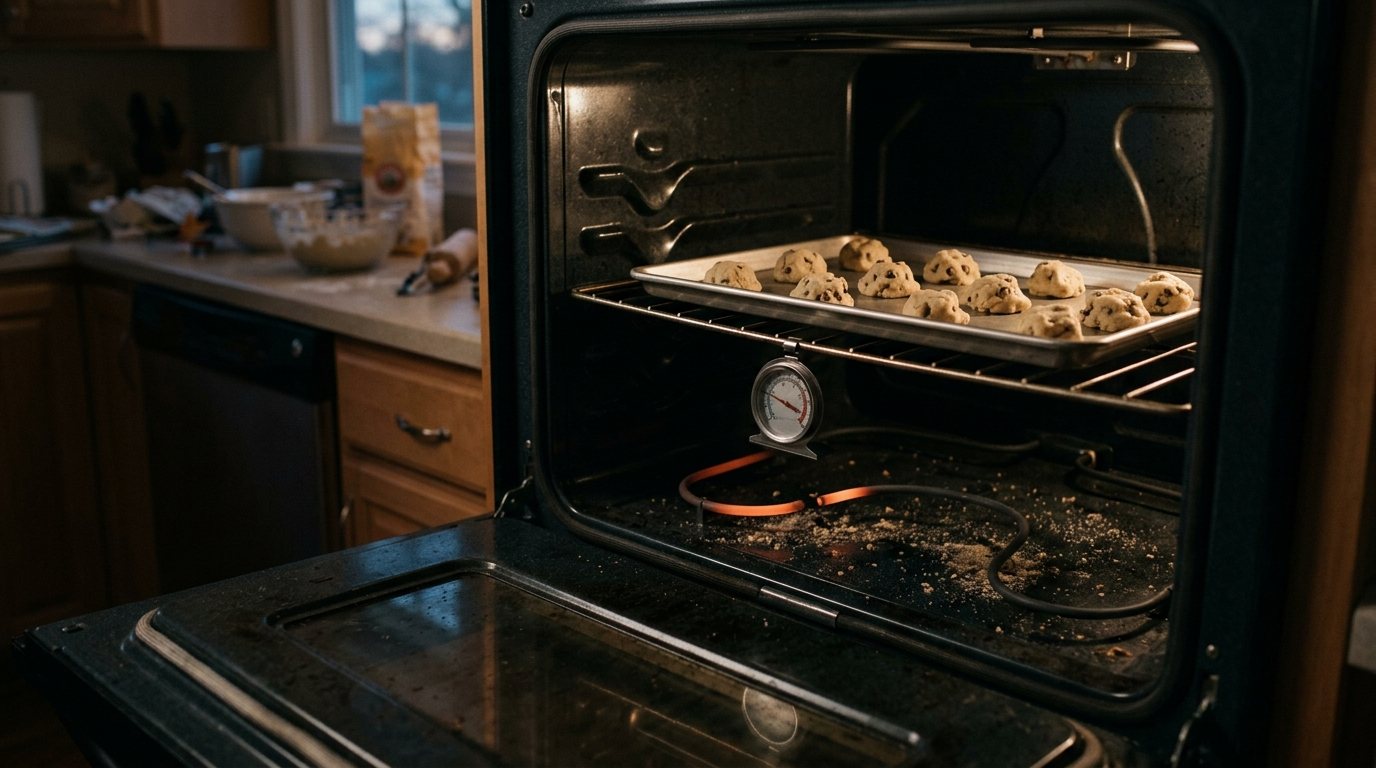
You set the oven to 375°F, wait twenty minutes, and open the door to find it barely warm. The display looks normal and the cooktop may work fine, but dinner is not going to cook itself.
An oven that will not heat usually comes down to a handful of parts, and which ones depends on whether you have an electric or gas oven. This guide starts with the simple settings and power checks, then walks through the bake and broil elements, temperature sensor, thermal fuse and control board on electric ovens, the igniter and gas valve on gas ovens, how to calibrate an oven that heats to the wrong temperature, and the gas safety rules you should never skip.
Quick answer: First rule out settings such as control lock, a delayed start or a demo mode, and check the breaker. On an electric oven, look at the bake element: if it does not glow red or shows a blister or break, it has likely failed and is usually a simple part to replace. On a gas oven, watch the igniter through the bottom panel: if it glows but never lights the burner after a minute or two, the igniter is probably too weak to open the gas valve. If you smell gas at any point, stop and leave the house.
Start with the simple checks
Before you buy any parts, spend five minutes on these. They solve a surprising number of no-heat calls.
- Settings: Make sure the oven is not in control lock, a delayed bake or timed cook mode, a Sabbath mode or a showroom demo mode. Your manual lists how to exit each one.
- The door: If the door is not fully closed or the self-clean lock is stuck, many ovens will not heat.
- Power: Electric ranges run on a 240-volt circuit with a double breaker. If one half trips, the clock and light can still work while the elements stay cold. Turn the breaker fully off and back on. If it keeps tripping, see our guide to a circuit breaker that keeps tripping.
- Gas supply: On a gas range, light a cooktop burner. If none light, the gas supply valve behind the range may be closed, or there may be a supply issue to report to your gas utility. Gas ovens also need electricity for the igniter and controls, so check that the range is plugged in.
- Foil on the oven floor: KitchenAid advises against lining the oven bottom or racks with foil because it restricts airflow and lengthens preheating. It notes that preheating typically takes at least 12 to 15 minutes.
Troubleshooting table
| What you notice | Electric oven: likely cause | Gas oven: likely cause |
|---|---|---|
| Display dark, nothing works | Tripped breaker, thermal fuse | Unplugged, tripped breaker, thermal fuse |
| Display works, no heat at all | Bake element, half of breaker tripped, control relay | Weak igniter, gas valve, gas supply |
| Broil works but bake does not | Bake element | Bake igniter |
| Bake works but broil does not | Broil element | Broil igniter |
| Heats slowly or runs cool | Weak element, sensor, calibration | Weak igniter, sensor, calibration |
| Overheats or burns food | Temperature sensor, control board | Temperature sensor, control board |
| Stopped working after self-clean | Thermal fuse, control board | Thermal fuse, control board |
Safety first and tools you need
Safety note: Unplug the range or switch off its breaker before removing any panel or element, and let the oven cool completely. On a gas range, also close the gas shutoff valve before working on gas parts. If you smell gas, do not switch lights or appliances on or off and do not light anything. Leave the house and call your gas utility or 911 from outside. The Consumer Product Safety Commission recommends carbon monoxide alarms on every level of the home and outside sleeping areas, which matters in any home with gas appliances.
Tools and materials
- Oven thermometer
- Multimeter
- Nut driver and screwdriver set
- Flashlight
- Work gloves
- Your range’s model number (usually on a label inside the door frame, drawer or back) for ordering parts
- Replacement part, once you have confirmed the fault
Electric oven not heating
Bake element
The bake element is the thick loop on the oven floor, or hidden under the floor panel on many newer models. It is the most common failure in an electric oven. Set the oven to bake and watch for a steady red glow within a few minutes. No glow, a glowing section that stops partway, or a visible blister, crack or break means the element has failed.
- Turn off the breaker and let the oven cool.
- Remove the screws holding the element to the back wall and pull it forward a few inches to expose the wires.
- Photograph the connections, then pull off the wire terminals.
- Test across the two element terminals with a multimeter set to ohms. A reading of open or infinite resistance confirms a failed element. Our guide on how to use a multimeter covers the basics.
- Connect the new element, push the wires back through, screw it in place, restore power and test.
If the wires slip behind the back wall, you may need to pull the range out and remove the rear panel to retrieve them, so hold on to them as you work.
Broil element
The broil element sits at the top of the oven. Many ovens use it briefly during preheat, so a failed broil element can make preheating slow even if baking otherwise works. Test and replace it the same way as the bake element.
Temperature sensor
The temperature sensor is the thin probe on the back wall near the top. It tells the control how hot the oven is. If it is bent, touching the wall or failing, the oven may underheat, overheat or show an error code. KitchenAid notes the sensor should stick straight out from the back wall. You can test it with a multimeter and compare the reading with the resistance chart on your oven’s tech sheet, which is often tucked behind the kick panel or the back of the range.
Thermal fuse
Many ovens have a thermal fuse that cuts power if the oven overheats, which sometimes happens during a self-clean cycle. If the oven went completely dead after self-cleaning, a blown thermal fuse or a damaged control board is a strong possibility. Fuses are inexpensive, but a fuse that blew because of an underlying fault, such as a stuck relay, will blow again.
Control board
The control board sends power to the elements through relays. If the elements test good, the sensor checks out and the display works but nothing heats, the board may have failed. Control boards are expensive, so have a technician confirm the diagnosis before you buy one.
Gas oven not heating
Weak igniter
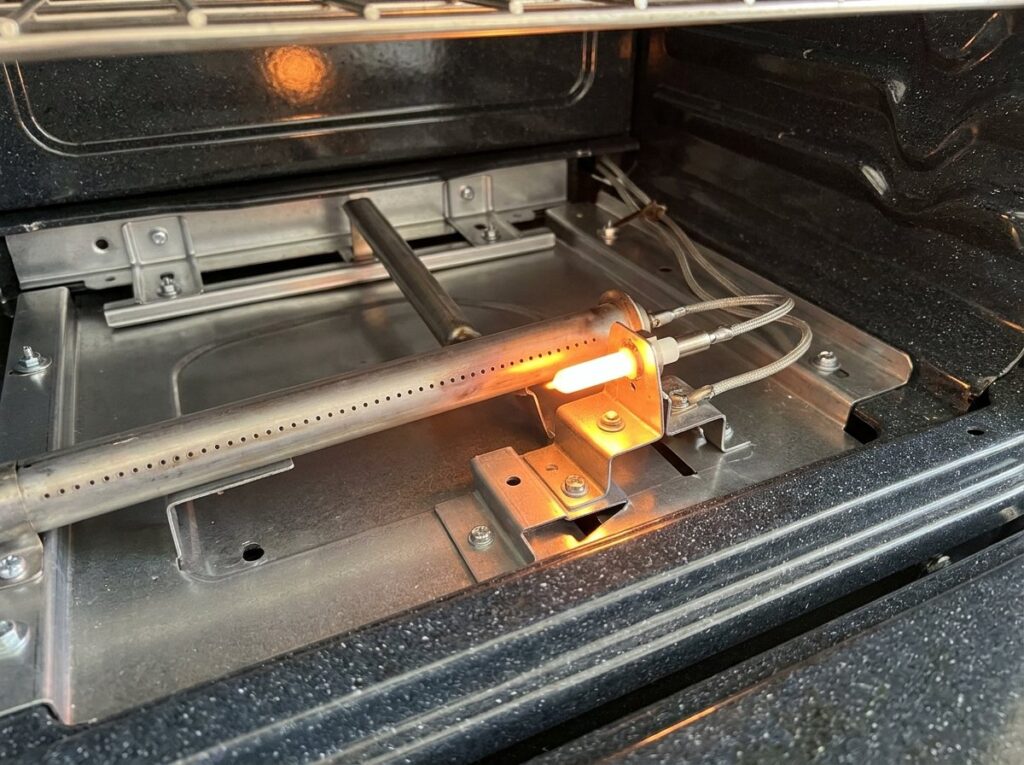
Most modern gas ovens use a hot surface igniter, a small part that glows bright orange to light the burner. It also acts as part of the safety system: the gas valve only opens when the igniter draws enough current. As igniters age, they can still glow but no longer draw enough current to open the valve, so the oven never lights. This is a common cause that fools people, because the igniter still looks like it is working.
To check it, remove the oven floor panel or the broiler drawer and start a bake cycle. If the igniter glows for a minute or more but no flame appears, the igniter is the most likely culprit. Igniters are a common DIY replacement on many models: turn off power and gas, remove the two mounting screws, disconnect the wire connector and install the new part. Handle it by the mounting bracket only, since the ceramic element is fragile.
Gas valve
If a new igniter glows strongly and the burner still does not light, the oven safety valve may have failed. Because this part controls gas flow, replacing it is a job for a qualified appliance technician.
Bake versus broil burner
Many gas ranges have separate bake and broil burners, each with its own igniter. If broil works but bake does not, focus on the bake igniter. If neither works, check the gas supply, the power to the range, and the control board.
Oven heats, but to the wrong temperature
If the oven heats but recipes take too long or burn, check its accuracy before replacing parts.
- Place an oven thermometer in the center of the middle rack.
- Set the oven to 350°F and let it preheat, then wait another 20 minutes.
- Read the thermometer several times over 20 to 30 minutes. Ovens cycle on and off, so average the readings.
- If the average is consistently off, use the calibration or temperature offset feature in your oven’s settings, or adjust the dial on older models, as described in your manual.
Most ovens allow only a limited adjustment. If yours is off by more than that, or the error keeps changing, the temperature sensor or control is likely failing.
Common mistakes to avoid
- Skipping the breaker check. Half a tripped breaker can leave the clock working and the oven cold.
- Replacing the control board first. Elements, igniters and sensors fail far more often and cost much less.
- Working on a gas oven with the gas on. Always close the gas valve before removing gas parts.
- Lining the oven floor with foil. It blocks airflow, slows preheating and can damage the oven.
- Running self-clean right before a holiday meal. The extreme heat can stress fuses and boards, so do it well ahead of time.
Keeping the oven clean also helps it heat evenly; our guide on how to clean an oven covers gentler options than a long self-clean cycle.
When to call a pro
Call an appliance technician, or your gas utility in an emergency, if you notice any of these:
- A gas smell, a hissing sound near the range, or a carbon monoxide alarm.
- Scorch marks, burning plastic smells or sparks.
- A new igniter or element did not fix the problem.
- Error codes that return after a reset, or a suspected control board fault.
- Any repair on the gas valve or gas line.
According to HomeAdvisor’s oven repair cost guide, oven repairs typically cost $130 to $310, with an average around $200. Oven repair specialists typically charge about $50 to $200 per hour.
| Repair (parts and labor) | Typical cost |
|---|---|
| Heating element replacement | About $275 |
| Oven igniter replacement | About $200 |
| Thermostat replacement | About $150 |
| Gas valve replacement | About $150 |
| Control board replacement | About $225 |
The same guide notes that ovens typically last 15 to 20 years with good care, and suggests repairing when the cost is less than half the price of a new oven and the oven is under 15 years old.
Frequently asked questions
Why does my stovetop work but my oven won’t heat?
The oven has its own heating parts. On an electric range, the bake element, a tripped half of the breaker, the sensor or a control relay are the usual causes. On a gas range, a weak oven igniter is the most common culprit when the burners on top still light.
How do I know if my oven igniter is bad?
Watch the igniter through the bottom panel during a bake cycle. If it glows for a minute or more but the burner does not light, or it does not glow at all, the igniter is likely bad.
Can I replace an oven bake element myself?
On many electric ovens, yes. With the power off, it usually involves removing two screws, pulling off two wire terminals and installing the new element. Ovens with hidden elements under the floor take more disassembly.
Why did my oven stop working after self-cleaning?
The very high temperature of a self-clean cycle can blow a thermal fuse or damage the control board. Check your manual for a reset procedure, then test or replace the fuse, or call a technician.
How long should an oven take to preheat?
KitchenAid notes that preheating typically takes at least 12 to 15 minutes, depending on the temperature. If yours takes much longer, check the broil and bake elements or igniters, the breaker and whether foil is blocking airflow.
The bottom line
Start with the easy wins: settings, the door, the breaker and the gas supply. On an electric oven, the bake element is the usual suspect; on a gas oven, it is a weak igniter. Calibrate with a thermometer before blaming the sensor, never work on gas parts with the gas on, and leave immediately if you smell gas.