You notice a few bubbles on the bathroom ceiling, or a strip of paint that lifts away in a sheet when you pull off painter’s tape. Then it spreads. Peeling and bubbling paint looks like a cosmetic problem, but it’s almost always a sign that something went wrong underneath the paint, not in it.
This guide explains the most common causes, from moisture and dirty or glossy surfaces to missing primer, latex over oil and heat. You’ll learn how to tell which one you’re dealing with, how to fix it so it doesn’t come back, what’s different in bathrooms and on exterior siding, and why older homes need a lead check before you scrape anything.
Quick answer: Paint peels or bubbles when it loses its grip on the surface, most often because of moisture, dirt or grease, glossy or oil-based paint underneath, or no primer. Fix the cause first, then scrape off all loose paint, sand the edges smooth, clean, prime with the right primer and repaint. Painting over peeling paint without this prep just traps the problem under a new layer.
Peeling vs bubbling: read the clues first
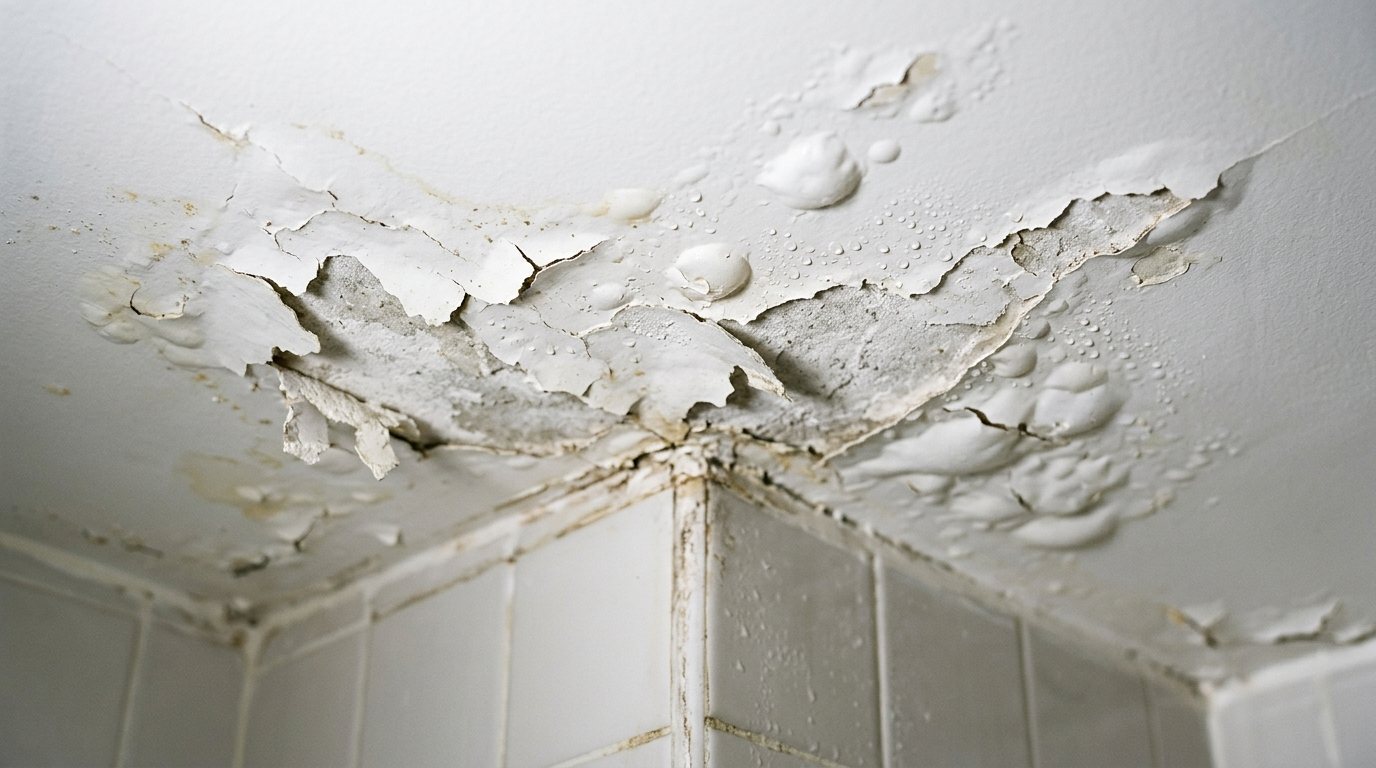
Bubbles (also called blisters) are pockets where the paint has lifted but not yet broken. Peeling is the next stage: the film cracks and curls away. Before you fix anything, take a minute to diagnose, because the cause decides the repair.
- Pop a blister with a utility knife. If it contains water or you see bare drywall, plaster or wood underneath, moisture is the likely cause. If you see an older layer of paint, the new coat didn’t bond to the old one.
- Check the timing. Bubbles that show up within hours or days of painting usually point to heat, a dirty surface or recoating too soon. Peeling that appears months later usually points to moisture or a weak bond.
- Do a tape test. Press a strip of masking tape firmly onto sound-looking paint near the problem and rip it off. If paint comes away on the tape, the adhesion problem is bigger than the visible spot.
Common causes of peeling and bubbling paint
1. Moisture and humidity
Moisture is the most common culprit. Water from a leaky roof, plumbing, condensation or daily shower steam gets behind the paint film and pushes it off the wall. Moisture blisters often go all the way down to the bare surface, and they’ll keep coming back until the water source is fixed. Ceiling bubbles below a bathroom or attic deserve a closer look for a hidden leak.
2. Dirty or greasy surfaces
Paint can’t bond to dust, cooking grease, nicotine, soap film or fingerprints. Kitchen walls, areas around light switches and bathroom walls are frequent problem spots. The paint may look fine at first, then lift as soon as it gets bumped or damp.
3. Glossy paint that wasn’t sanded
A smooth semi-gloss or gloss surface gives new paint very little to grip. Without a light scuff-sanding and a bonding primer, the new coat sits on top like a skin and can peel off in sheets, especially when you remove tape.
4. No primer on bare or patched surfaces
Bare drywall, fresh joint compound, raw plaster and bare wood absorb paint unevenly and can leave a chalky, weak base. Drywall sanding dust left on the surface makes it worse. Paint over unprimed patches often peels in neat shapes that match the repair underneath.
5. Latex paint over oil-based paint
This is a classic cause in older homes, especially on trim, doors and kitchen or bathroom walls, because water-based paint doesn’t bond well to glossy oil-based paint. To check, rub a small spot with a cotton ball soaked in rubbing alcohol. If paint comes off on the cotton, it’s latex; if nothing comes off, it’s likely oil-based and needs sanding and a bonding primer before latex.
6. Heat, direct sun and fast drying
Painting a hot surface or working in direct sunlight makes the top of the paint film dry too quickly and trap solvent or moisture underneath. The trapped vapor expands and forms bubbles, usually within a day or two. Dark colors and thick coats are the most prone.
7. Recoating too soon or painting too thick
If you roll a second coat before the first has dried, or lay on heavy coats to save time, the layers can stay soft and lift together. The same thing happens when paint goes onto new plaster or skim coat that hasn’t fully dried.
| What you see | Likely cause | First step |
|---|---|---|
| Blisters with water or bare surface underneath | Moisture or a leak | Find and fix the water source |
| Bubbles within a day of painting, top coat only | Heat, sun or fast drying | Let cure, scrape, sand and spot-paint |
| Paint peeling off in sheets or with tape | Glossy or oil-based paint underneath | Alcohol test, sand, bonding primer |
| Peeling in the shape of old patches | Unprimed joint compound | Scrape, sand, prime the repair |
| Peeling near stove, switches or sink | Grease or dirt | Degrease thoroughly before priming |
| Bathroom ceiling bubbling or flaking | Steam and poor ventilation | Fix the fan, then prime and repaint |
Tools and materials
- Stiff putty knife or paint scraper and a utility knife
- Sanding sponge or sandpaper (120 to 220 grit) and a sanding block
- Lightweight spackle or joint compound and a 4 to 6 inch taping knife
- Degreasing cleaner or mild detergent, sponge and clean rags
- Primer suited to the problem: bonding, stain-blocking or drywall primer
- Paint matched to the room (satin or semi-gloss for bathrooms and kitchens)
- Drop cloths, dust mask, safety glasses and a lead test kit for older homes
How to fix peeling or bubbling paint properly
Step 1: Check for lead before you scrape
Safety note: If your home was built before 1978, the old paint under the peeling layer may contain lead. Scraping and sanding lead paint releases dust that is especially harmful to children and pregnant people. The EPA advises assuming lead is present if you aren’t sure of your home’s age, and recommends testing by a certified inspector or risk assessor. Follow its lead-safe guidance for do-it-yourselfers: contain the area with plastic, mist surfaces before scraping, use a HEPA vacuum and never dry-sweep the dust.
Step 2: Fix the source of the problem
No paint job will last if water keeps reaching the wall. Repair roof or plumbing leaks, make sure the bathroom exhaust fan actually pulls air outside, and fix any gaps in caulk around tubs, sinks and windows. Give damp drywall or plaster time to dry out completely before you go further.
Step 3: Scrape off all loose paint
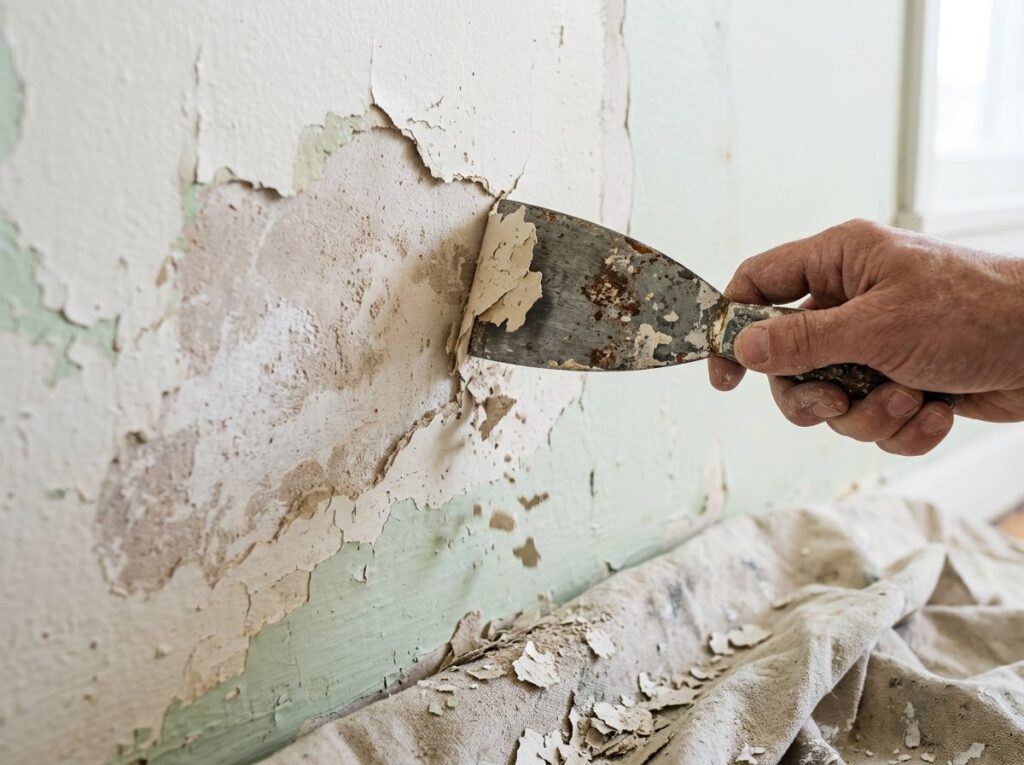
Slide a putty knife or scraper under the edges of the peeling area and remove everything that comes away easily. Keep going until you reach paint that is firmly attached all the way around. Cut open and scrape off every blister; small bubbles that look harmless usually have weak paint around them too.
Step 4: Feather the edges and clean
Sand the edges of the scraped area so the ridge between bare surface and old paint is smooth to your fingertips. If the old paint is glossy, scuff-sand the whole surface you plan to repaint. Wash away grease and dust with a degreasing cleaner, rinse and let it dry fully.
Step 5: Patch and smooth the surface
Peeling often leaves a shallow crater. Skim it with a thin coat of lightweight compound, let it dry, then sand flush. If the drywall’s brown paper facing has torn, seal it with primer first; otherwise compound can make it bubble. Deeper damage may need the steps in our guide on how to patch drywall.
Step 6: Prime with the right primer
- Bare drywall or patches: latex drywall primer.
- Glossy or oil-based paint: a bonding primer after scuff-sanding.
- Water stains or torn drywall paper: a stain-blocking primer, often oil-based or shellac-based.
- Bathrooms: a mildew-resistant primer if moisture has been an ongoing issue.
Step 7: Repaint in the right conditions
Apply two thin coats rather than one heavy one, following the recoat time on the can. Paint when the room is comfortably warm, not in direct sun or a cold, damp space, and keep bathrooms dry while the paint cures. For full technique, see our guide on how to paint a room.
Why bathroom paint peels (and how to stop it)
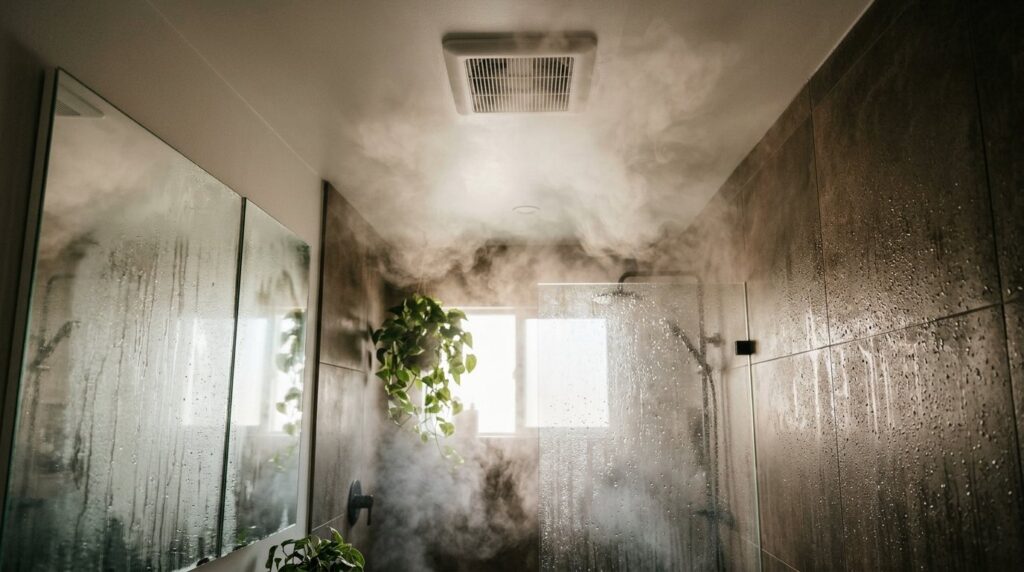
Bathrooms combine every risk at once: steam, temperature swings, soap residue and often glossy older paint. Ceilings suffer most because warm, moist air rises and condenses there. If you see bubbles above the shower, hold a tissue near the exhaust fan grille while it runs. If the fan doesn’t pull the tissue, see our guide to a bathroom exhaust fan that isn’t working.
Run the fan during every shower and for a while afterward, and wipe down condensation on cold walls. Use a satin or semi-gloss paint labeled for kitchens and baths, which resists moisture better than flat paint. If you see black or gray spotting along with the peeling, treat it first with our guide on how to get rid of bathroom mold.
New paint in a steamy bathroom can also develop sticky, tan or clear drips within the first few weeks. This is usually surfactant leaching, where water-soluble ingredients rise to the surface before the paint fully cures. It isn’t peeling, and it usually washes off with warm, soapy water.
Exterior paint: what’s different outside
Outside, the same rules apply, but weather adds pressure. Purdue University Extension’s guide to paint failure problems and their cure separates two kinds of blisters. Temperature blisters appear within hours or days, only in the top coat, when sun heats fresh paint. Moisture blisters go through every coat to the wood and come from water getting into or behind the siding.
- Follow the shade. Paint each side of the house after the sun has moved off it, and avoid painting late in the day when dew may settle on fresh paint.
- Manage water. Clear gutters, fix flashing and recaulk gaps around windows and trim so rain can’t soak into the wood.
- Don’t build up layers. Very thick paint on older homes eventually cracks and peels. If failure is widespread, stripping to bare wood may be the only lasting fix.
When to call a pro
Small patches are a manageable DIY job. Bring in a professional when you see these red flags:
- Peeling or bubbling returns quickly after a careful repair, which suggests a hidden leak or condensation problem.
- Ceiling paint bubbles along with stains, sagging or soft drywall, which can mean water is pooling above.
- Your home was built before 1978 and the peeling area is large. Hire a lead-safe certified contractor.
- Mold covers a large area, or you smell mustiness inside the wall.
- Exterior paint is failing over whole sections of siding.
Costs depend on what’s behind the paint. According to HomeAdvisor’s drywall repair cost guide, a handyperson typically charges $60 to $90 per hour for small fixes, and repairing water-damaged drywall typically runs $600 to $1,550. Fixing a roof or plumbing leak is a separate cost.
Frequently asked questions
Can you paint over peeling paint?
No. New paint is only as strong as the layer underneath, so painting over peeling paint traps the problem and it will flake again, often taking the new coat with it. Scrape off everything loose, sand the edges smooth, prime and then repaint.
Why is my paint bubbling on the second coat?
The most likely reasons are that the first coat wasn’t dry enough, the room was hot or the coat went on too thick. Let the area dry for a couple of days, sand the bubbles flat, and repaint with thinner coats and the full recoat time on the label.
Will paint bubbles go away on their own?
Tiny bubbles from rolling often pop and flatten within minutes while the paint is wet. Blisters that remain after the paint dries won’t go away; they need to be cut open, scraped, sanded and repainted, and the cause found if it’s moisture.
How do I know if old paint is oil-based?
Rub a hidden spot with a cotton ball soaked in rubbing alcohol. Latex paint softens and transfers to the cotton, while oil-based paint stays put. If it’s oil-based, scuff-sand it and use a bonding primer before applying latex.
Why is my bathroom ceiling paint peeling?
Usually because steam is condensing on the ceiling and getting behind the paint, often due to a weak or unused exhaust fan. Leaks from a bathroom above or a roof leak are other possibilities, especially if you also see stains.
Is peeling paint dangerous?
In homes built before 1978, peeling paint can contain lead, and chips and dust are a serious hazard for children and pets. Test before you scrape, keep children away from flaking areas, and follow lead-safe work practices.
The bottom line
Peeling and bubbling paint is a symptom, so the lasting fix starts with the cause: stop the moisture, clean off grease, sand glossy surfaces and use the right primer. Once the surface is sound, scrape, feather, prime and repaint in thin coats, and check for lead first in any home built before 1978.