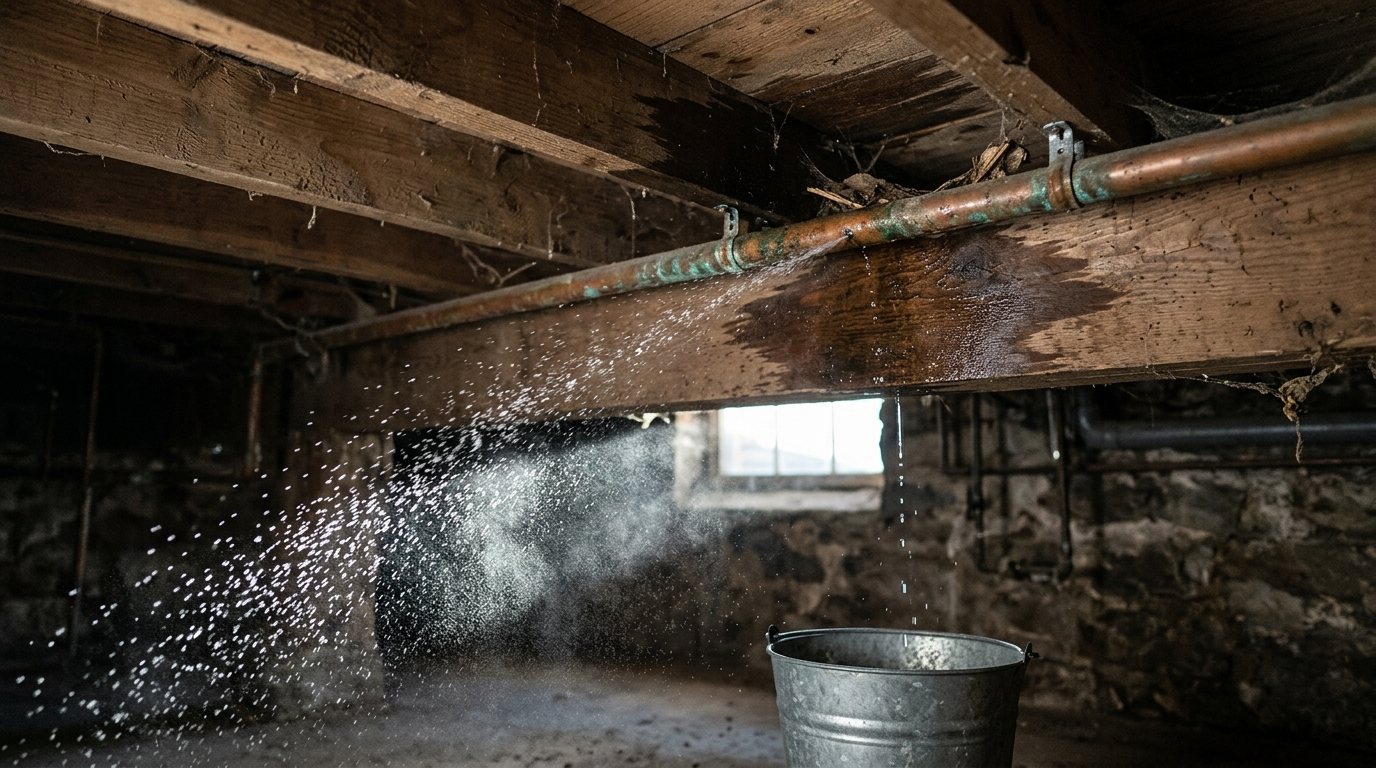
Maybe it’s a slow drip from a copper line in the basement, a fine spray from a pinhole, or water pooling under the sink. However it shows up, a leaking pipe needs attention right away, because even a small leak can soak drywall, rot wood and grow mold surprisingly fast.
This guide walks you through what to do in the first few minutes, how to stop the leak with a repair clamp, epoxy putty, silicone tape or a push-to-connect fitting, and how to tell when a temporary patch is fine for now and when you need a permanent repair or a plumber. You’ll also find typical repair costs so you know what to expect.
Quick answer: Shut off the water at the nearest valve or the main, open a faucet to drain the line, and dry the pipe. For a small leak on a straight section, wrap it with self-fusing silicone tape, press on epoxy putty or bolt on a pipe repair clamp. These are temporary, so plan a permanent repair: a push-to-connect coupling on copper, CPVC or PEX, or a plumber for leaks at joints, in walls or under slabs.
Do this first: stop the water
- Close the nearest shutoff valve. If the leak is on a main line or you can’t find a local valve, shut off the water to the whole house.
- Open a faucet below the leak, if possible, to drain the line and take pressure off the damaged spot.
- If water is near outlets, light fixtures or the panel, turn off power to that area at the breaker, but only if you can reach the panel from a dry spot.
- Put a bucket under the leak and move anything valuable out of the way.
- Find the exact source. Water travels along pipes and framing, so the drip you see may be a few feet from the actual hole. Wipe the pipe dry and watch where the water reappears.
- Take photos for your records and insurance before you start the repair.
Safety note: These repairs are for water lines only. Never patch a gas pipe. If you smell gas, leave the house right away and call your gas utility or 911 from outside. Also keep in mind that a ceiling bulging with water can collapse, so stay out from under it.
Identify the pipe and the leak
The right fix depends on what the pipe is made of and where it’s leaking. A leak on a straight run of pipe is the easiest to patch. Leaks at a fitting, elbow or valve are harder, because clamps and tape don’t seal well over bumps and joints.
| Pipe type | How to recognize it | Good temporary fix | Common permanent fix |
|---|---|---|---|
| Copper | Reddish brown metal, often with soldered joints | Repair clamp, epoxy putty or silicone tape | Push-to-connect coupling or soldered repair |
| PEX | Flexible plastic, often red, blue or white | Silicone tape | Push-to-connect or crimp coupling |
| CPVC | Rigid cream or tan plastic | Silicone tape or epoxy putty | Push-to-connect or solvent-welded coupling |
| Galvanized steel | Dull gray metal with threaded joints | Repair clamp | Section replacement by a plumber |
| PVC or ABS drain | White or black plastic under sinks and in basements | Tighten slip nuts; epoxy putty | Replace the trap or section |
If the leak is at a sink trap or a supply line under the cabinet, it’s often just a loose slip nut or a worn washer. Our guide to a leak under the kitchen sink covers those fixes.
Temporary fixes that buy you time
Hardware stores sell several quick repair products. They can hold for a while, but Home Depot’s guide is clear that tape, putty and clamps are temporary solutions, and you should still plan a permanent repair, even for a small leak.
Pipe repair clamp
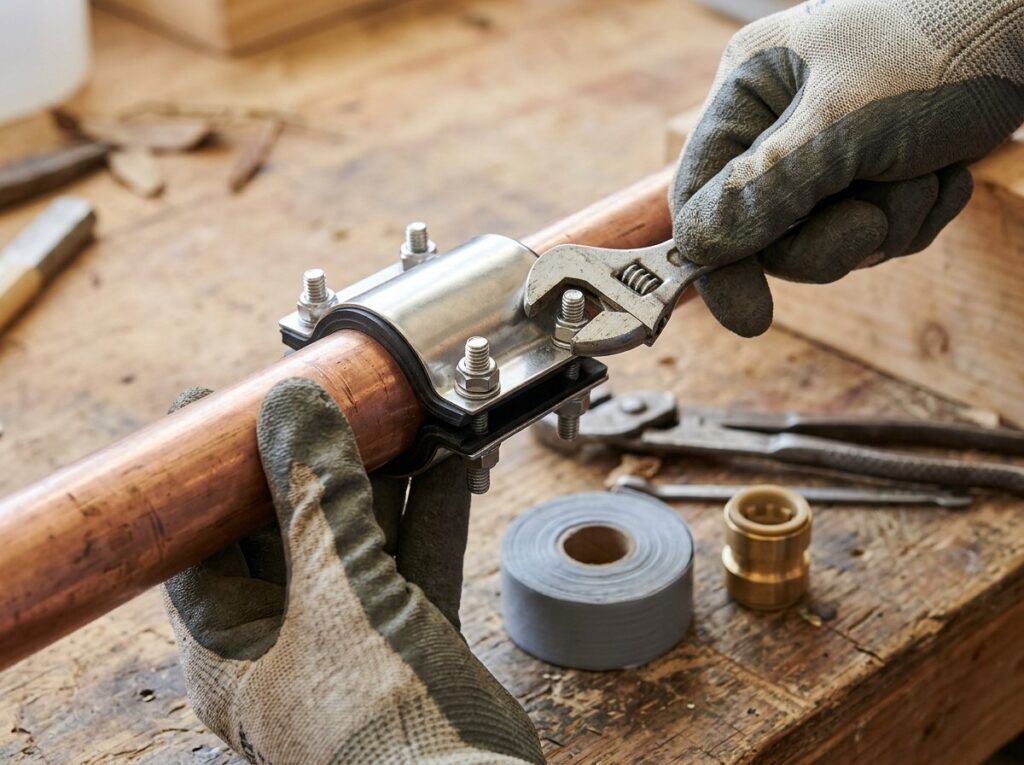
A repair clamp is a metal sleeve with a rubber gasket that bolts around the pipe. It’s the strongest of the quick fixes for a pinhole or small split on a straight run of copper or steel pipe. Buy one sized to your pipe’s outside diameter.
- Turn off the water and dry the pipe.
- File down any sharp edges around the hole so they don’t cut the gasket.
- Center the gasket over the leak so it overlaps the damage evenly on all sides.
- Close the clamp and tighten the bolts a little at a time, alternating sides, until snug. Don’t overtighten.
- Turn the water on slowly and check for drips.
Epoxy putty
Plumbing epoxy putty is a two-part compound you knead together and press over the leak, where it hardens like plastic. It works on pinholes and hairline cracks, and on fittings where a clamp won’t fit. Lowe’s notes that it starts hardening within a couple of minutes, so prepare everything before you mix it.
- Shut off the water and drain the line. The pipe must be clean and dry.
- Scuff the area with sandpaper or emery cloth so the putty grips.
- Knead the putty until it’s one even color.
- Press it firmly over the leak and work it around the pipe, extending well past the damage on each side.
- Let it cure for the full time listed on the package before turning the water back on.
Choose a putty labeled for plumbing and safe for drinking water if you’re fixing a supply line.
Self-fusing silicone tape
Silicone repair tape has no adhesive. It bonds to itself as you stretch and wrap it, forming a tight rubber sleeve. It’s handy for small leaks, odd shapes and plastic pipe, and you can apply it in a few minutes.
Start a few inches before the leak, stretch the tape firmly as you wrap, and overlap each pass by about half the tape’s width. Continue a few inches past the leak, then finish with a few extra wraps. Home Depot describes it as a temporary fix suited to low-pressure lines, so treat it as a stopgap.
Push-to-connect fittings
Push-to-connect (push-fit) couplings, often known by the SharkBite brand, let you cut out the damaged section and join the pipe without soldering or glue. They work on copper, CPVC and PEX. Many are rated for permanent use, but check your local code, especially for fittings that will be hidden behind walls.
How to replace a section with a push-to-connect coupling
This is the most reliable DIY repair for a pinhole or split on a straight run of copper, CPVC or PEX. If the damaged section is short, one slip coupling may cover it; for longer damage, use two couplings and a new piece of pipe.
- Shut off the water and open a faucet below the repair to drain the line.
- Mark and cut out the damaged section with a tubing cutter, making a clean, square cut.
- Remove burrs from the inside and outside edges of the pipe with a deburring tool. A rough edge can damage the O-ring inside the fitting.
- Use the depth gauge that comes with the fitting to mark the insertion depth on each pipe end.
- Push the fitting onto each pipe end with a twisting motion until it reaches your depth mark.
- Turn the water back on slowly and check every connection for leaks.
Pro tip: Cut a little beyond any green or white corrosion. If the pipe around the leak is thin, pitted or crusty, a fitting on that section won’t seal reliably, and the damage may extend further than it looks.
Tools and materials
- Bucket, towels and a flashlight
- Pipe repair clamp sized to your pipe
- Plumbing epoxy putty rated for potable water
- Self-fusing silicone repair tape
- Push-to-connect coupling, tubing cutter and deburring tool
- Sandpaper or emery cloth
- Adjustable wrench or screwdriver
- Gloves and safety glasses
When you need a permanent repair
A patch is fine to get you through a night or a weekend. Plan a permanent fix right away if:
- The leak is at a soldered joint, threaded fitting or valve, not on a straight run.
- You’ve found more than one pinhole in copper pipe, which can be a sign of corrosion in more of the line.
- The pipe is old galvanized steel or gray polybutylene, both of which tend to keep failing.
- The pipe split from freezing. Thaw it fully first, then check nearby sections, since freezes often crack more than one spot. Our guide on how to prevent frozen pipes can help you avoid a repeat this winter.
- The leak is inside a wall, ceiling or concrete slab, where you can’t see the full extent of the damage.
When to call a pro
Call a licensed plumber if water is coming through a ceiling or wall, if you hear water running with every fixture off, if your water meter moves when no water is being used, or if a pipe burst. Also call for leaks on the main supply line, under a slab, or anywhere you’d have to cut in to reach. These typical national ranges come from the sources noted.
| Job | Typical cost | Source |
|---|---|---|
| Fixing a leaking pipe, average range | $215 to $704 | Thumbtack |
| Plumber service call for a leaking pipe | $100 to $350 | HomeAdvisor |
| Burst pipe repair, extensive | Up to $2,000, plus cleanup | HomeAdvisor |
| Slab leak detection | $150 to $400 | HomeAdvisor |
| Slab leak repair | $630 to $4,400 (average $2,280) | HomeAdvisor |
| Water damage restoration | $1,000 to $6,000 | HomeAdvisor |
You can compare these with Thumbtack’s pipe leak cost data, HomeAdvisor’s plumber cost guide and its slab leak repair costs. The cost of cutting into walls or flooring and repairing them afterward is usually extra.
Frequently asked questions
Can you fix a leaking pipe without turning off the water?
Some silicone tapes and repair clamps can be applied to a pipe under pressure in an emergency, but they seal much better on a dry, depressurized pipe. Epoxy putty and push-to-connect fittings need the water off. Whenever you can, shut off the water first.
How long will a temporary pipe repair last?
It depends on the product, the pipe and the water pressure, and manufacturers don’t promise a set lifespan for most quick fixes. Treat any tape, putty or clamp as a way to buy time until a plumber or a permanent repair. Check it daily for moisture until then.
Are push-to-connect fittings a permanent fix?
Many push-to-connect fittings are rated for permanent installation on copper, CPVC and PEX when installed correctly on clean, square, deburred pipe. Local codes vary, especially for fittings hidden in walls or underground, so check before you close up a wall.
How can I tell if a pipe is leaking inside a wall?
Look for damp or stained drywall, bubbling paint, a musty smell or warped baseboards. To confirm, turn off every faucet and appliance, note your water meter reading, wait an hour or two without using water and check it again. If the reading changed, you have a leak somewhere.
Does homeowners insurance cover a leaking pipe?
Many policies cover sudden, accidental water damage, such as from a burst pipe, but often exclude damage from slow leaks that went on for a long time. The pipe repair itself is usually not covered. Read your policy and call your insurer quickly after finding damage.
The bottom line
When a pipe starts leaking, shut off the water first, then dry the pipe and find the exact source. A repair clamp, epoxy putty or silicone tape can stop a small leak for now, and a push-to-connect coupling is a solid DIY repair on copper, CPVC and PEX. For leaks at joints, inside walls, under slabs or on old pipe, call a plumber before a small drip becomes a big repair bill.